Next the front and rear portions of the root rib are glued into place. The angle is set for the dihedral using the angle gauge that looks kinda like a quarter circle piece of wood.
Random thoughts from Gary
Next the front and rear portions of the root rib are glued into place. The angle is set for the dihedral using the angle gauge that looks kinda like a quarter circle piece of wood.
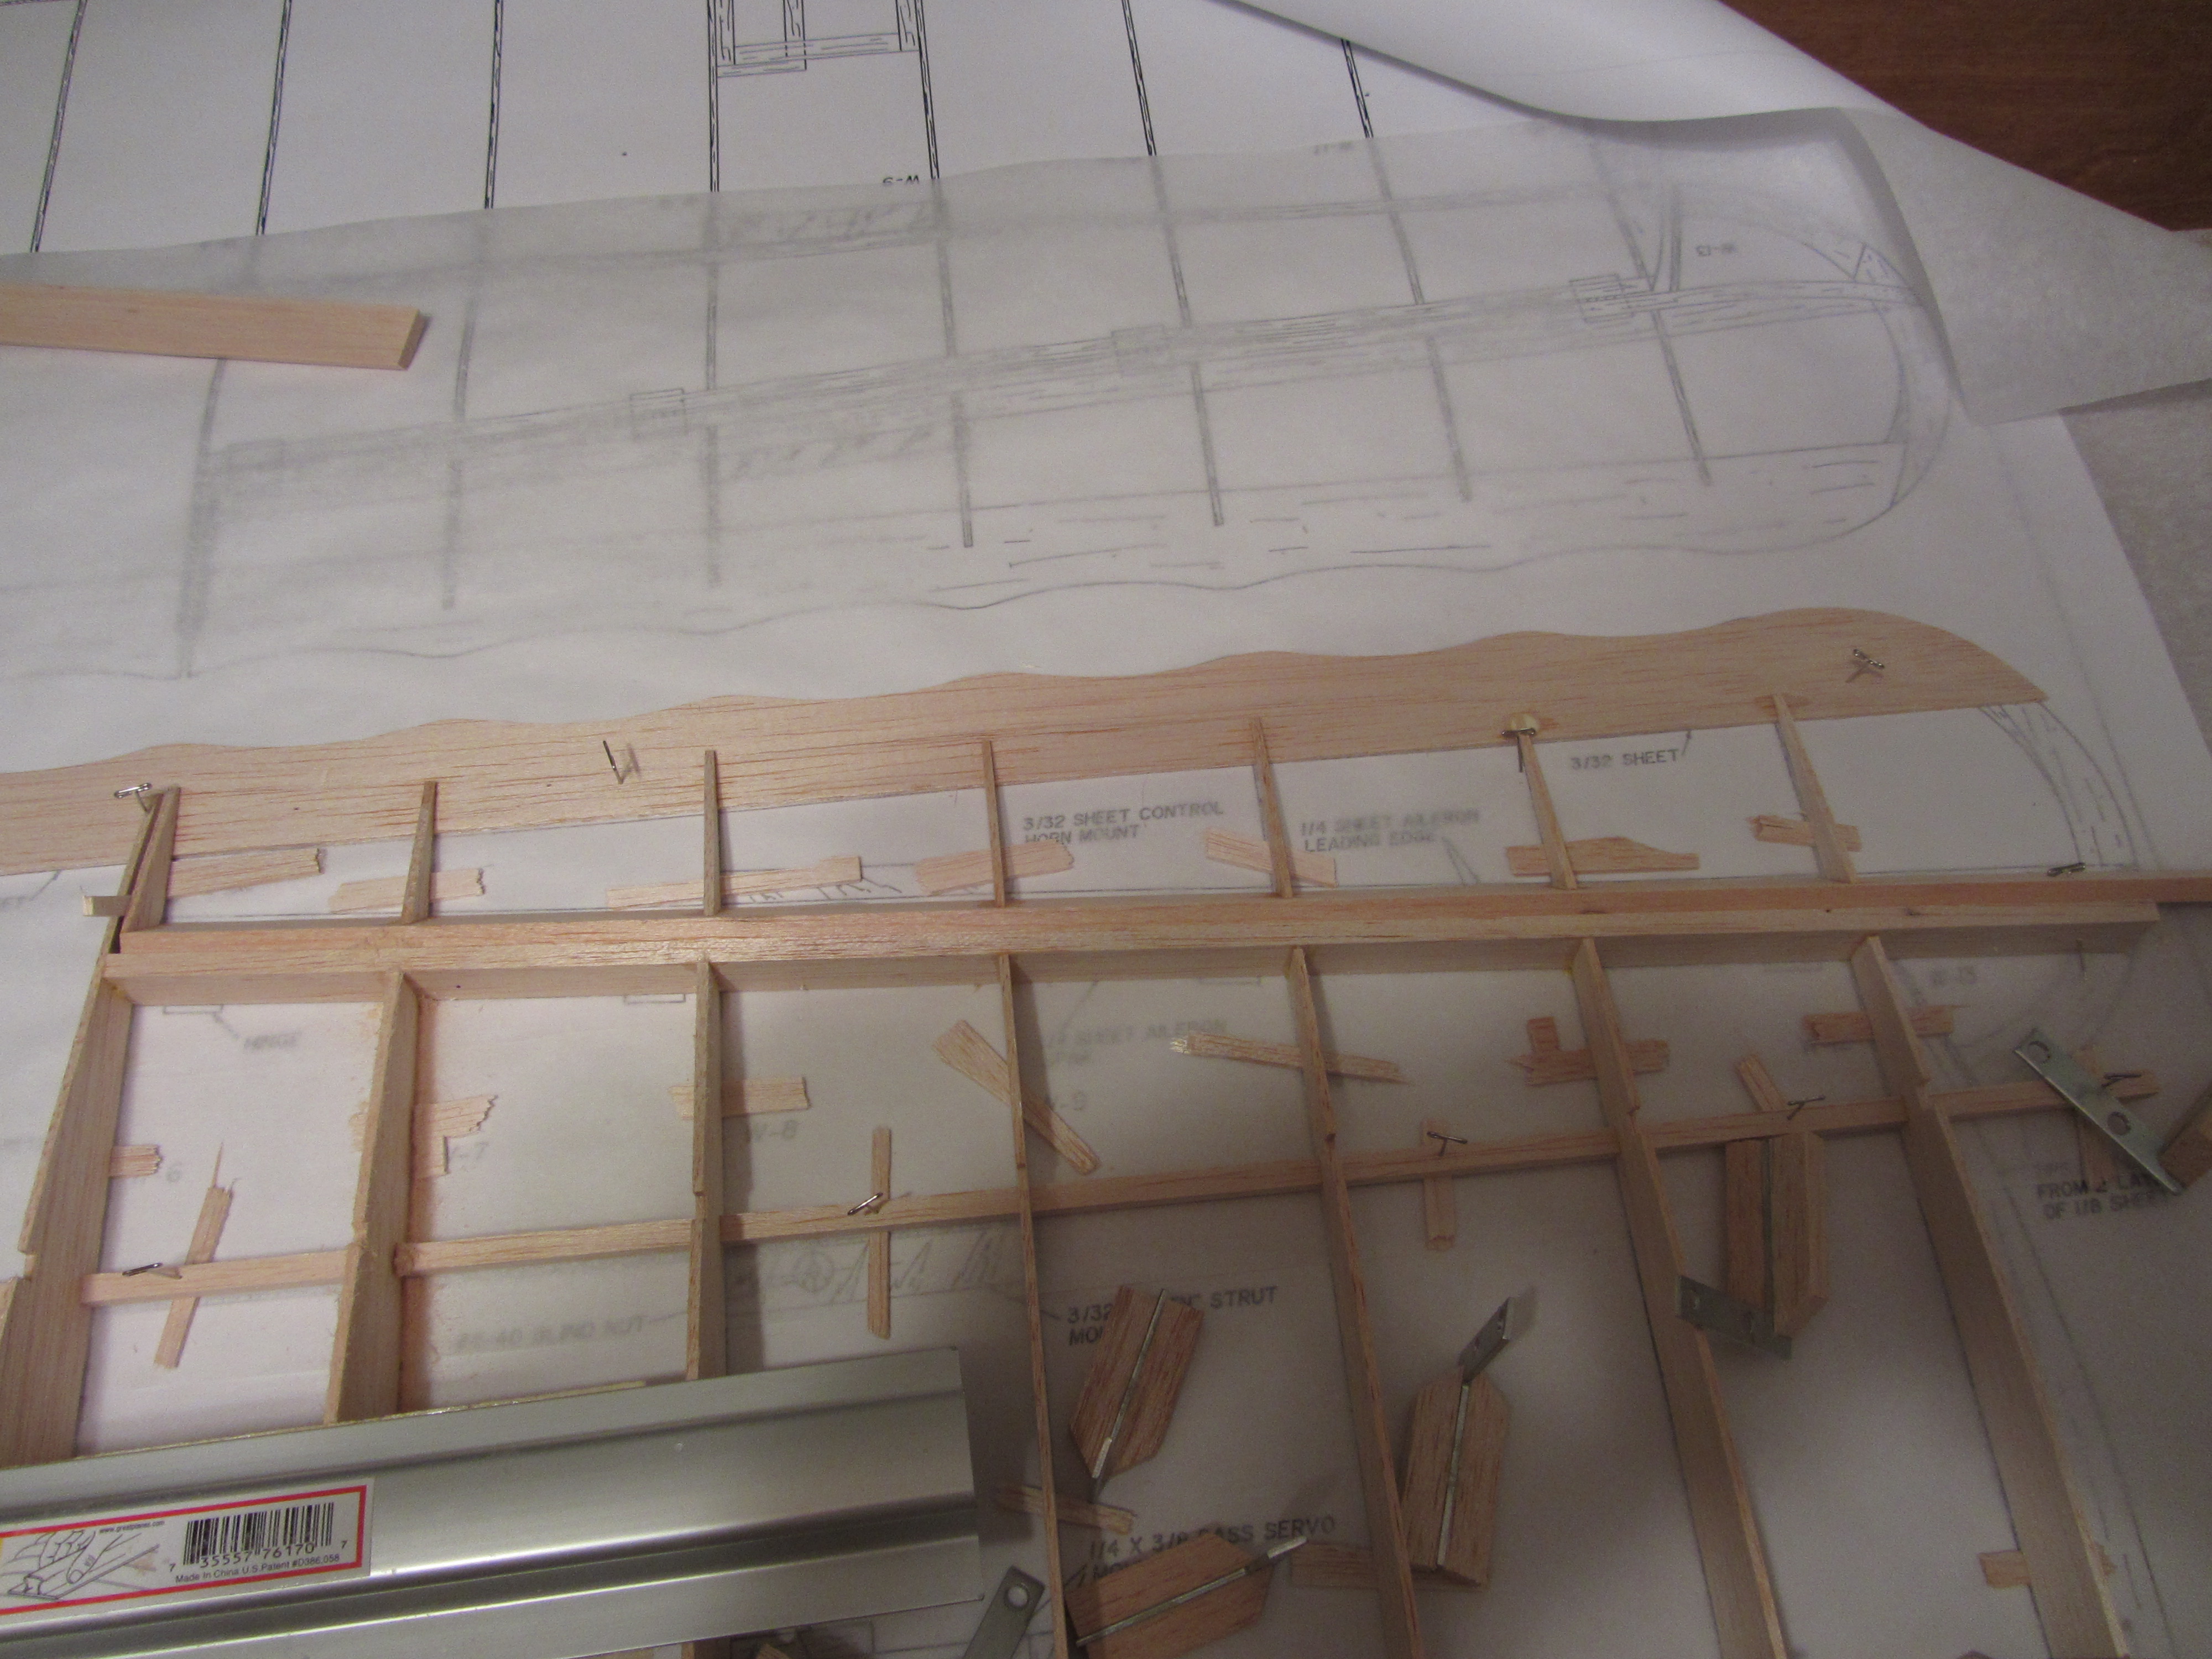
Ok, next step is to install the riblets on what is going to be the aileron:
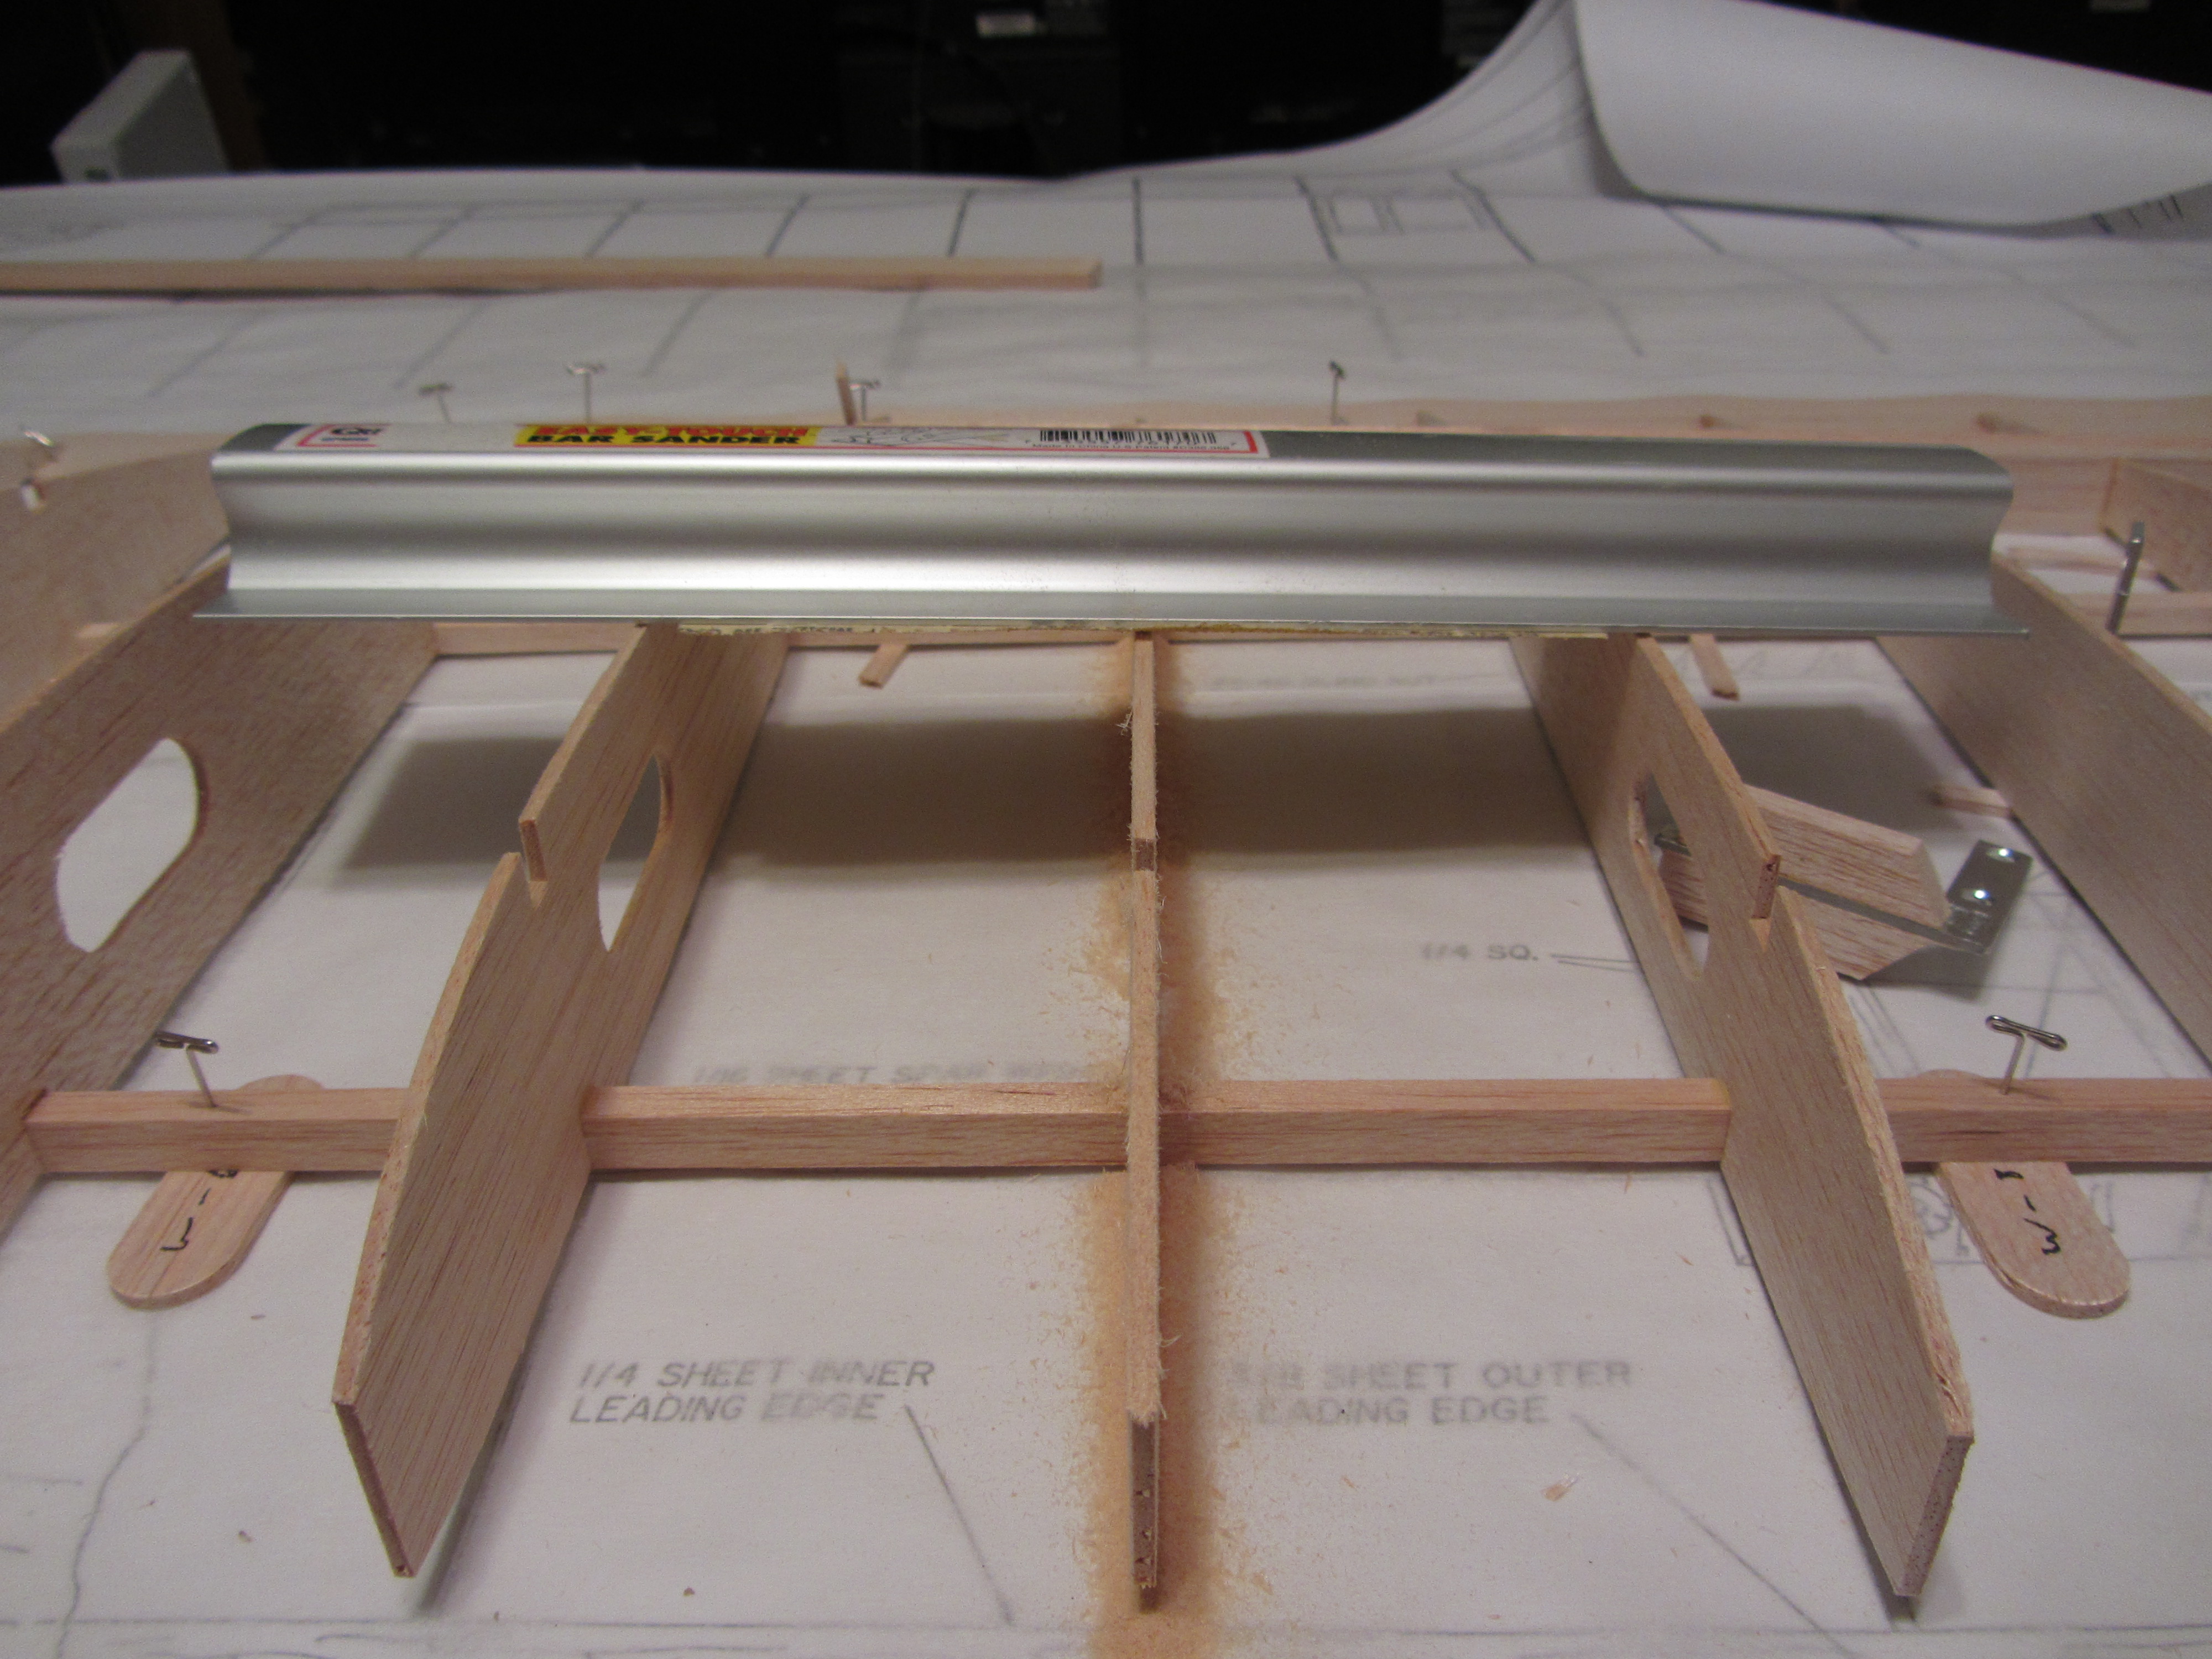
Next, that rib that I mentioned is too high needed to be adjusted. For this I used a sanding bar with sandpaper just in the middle so I could sand the rib without affecting anything else:
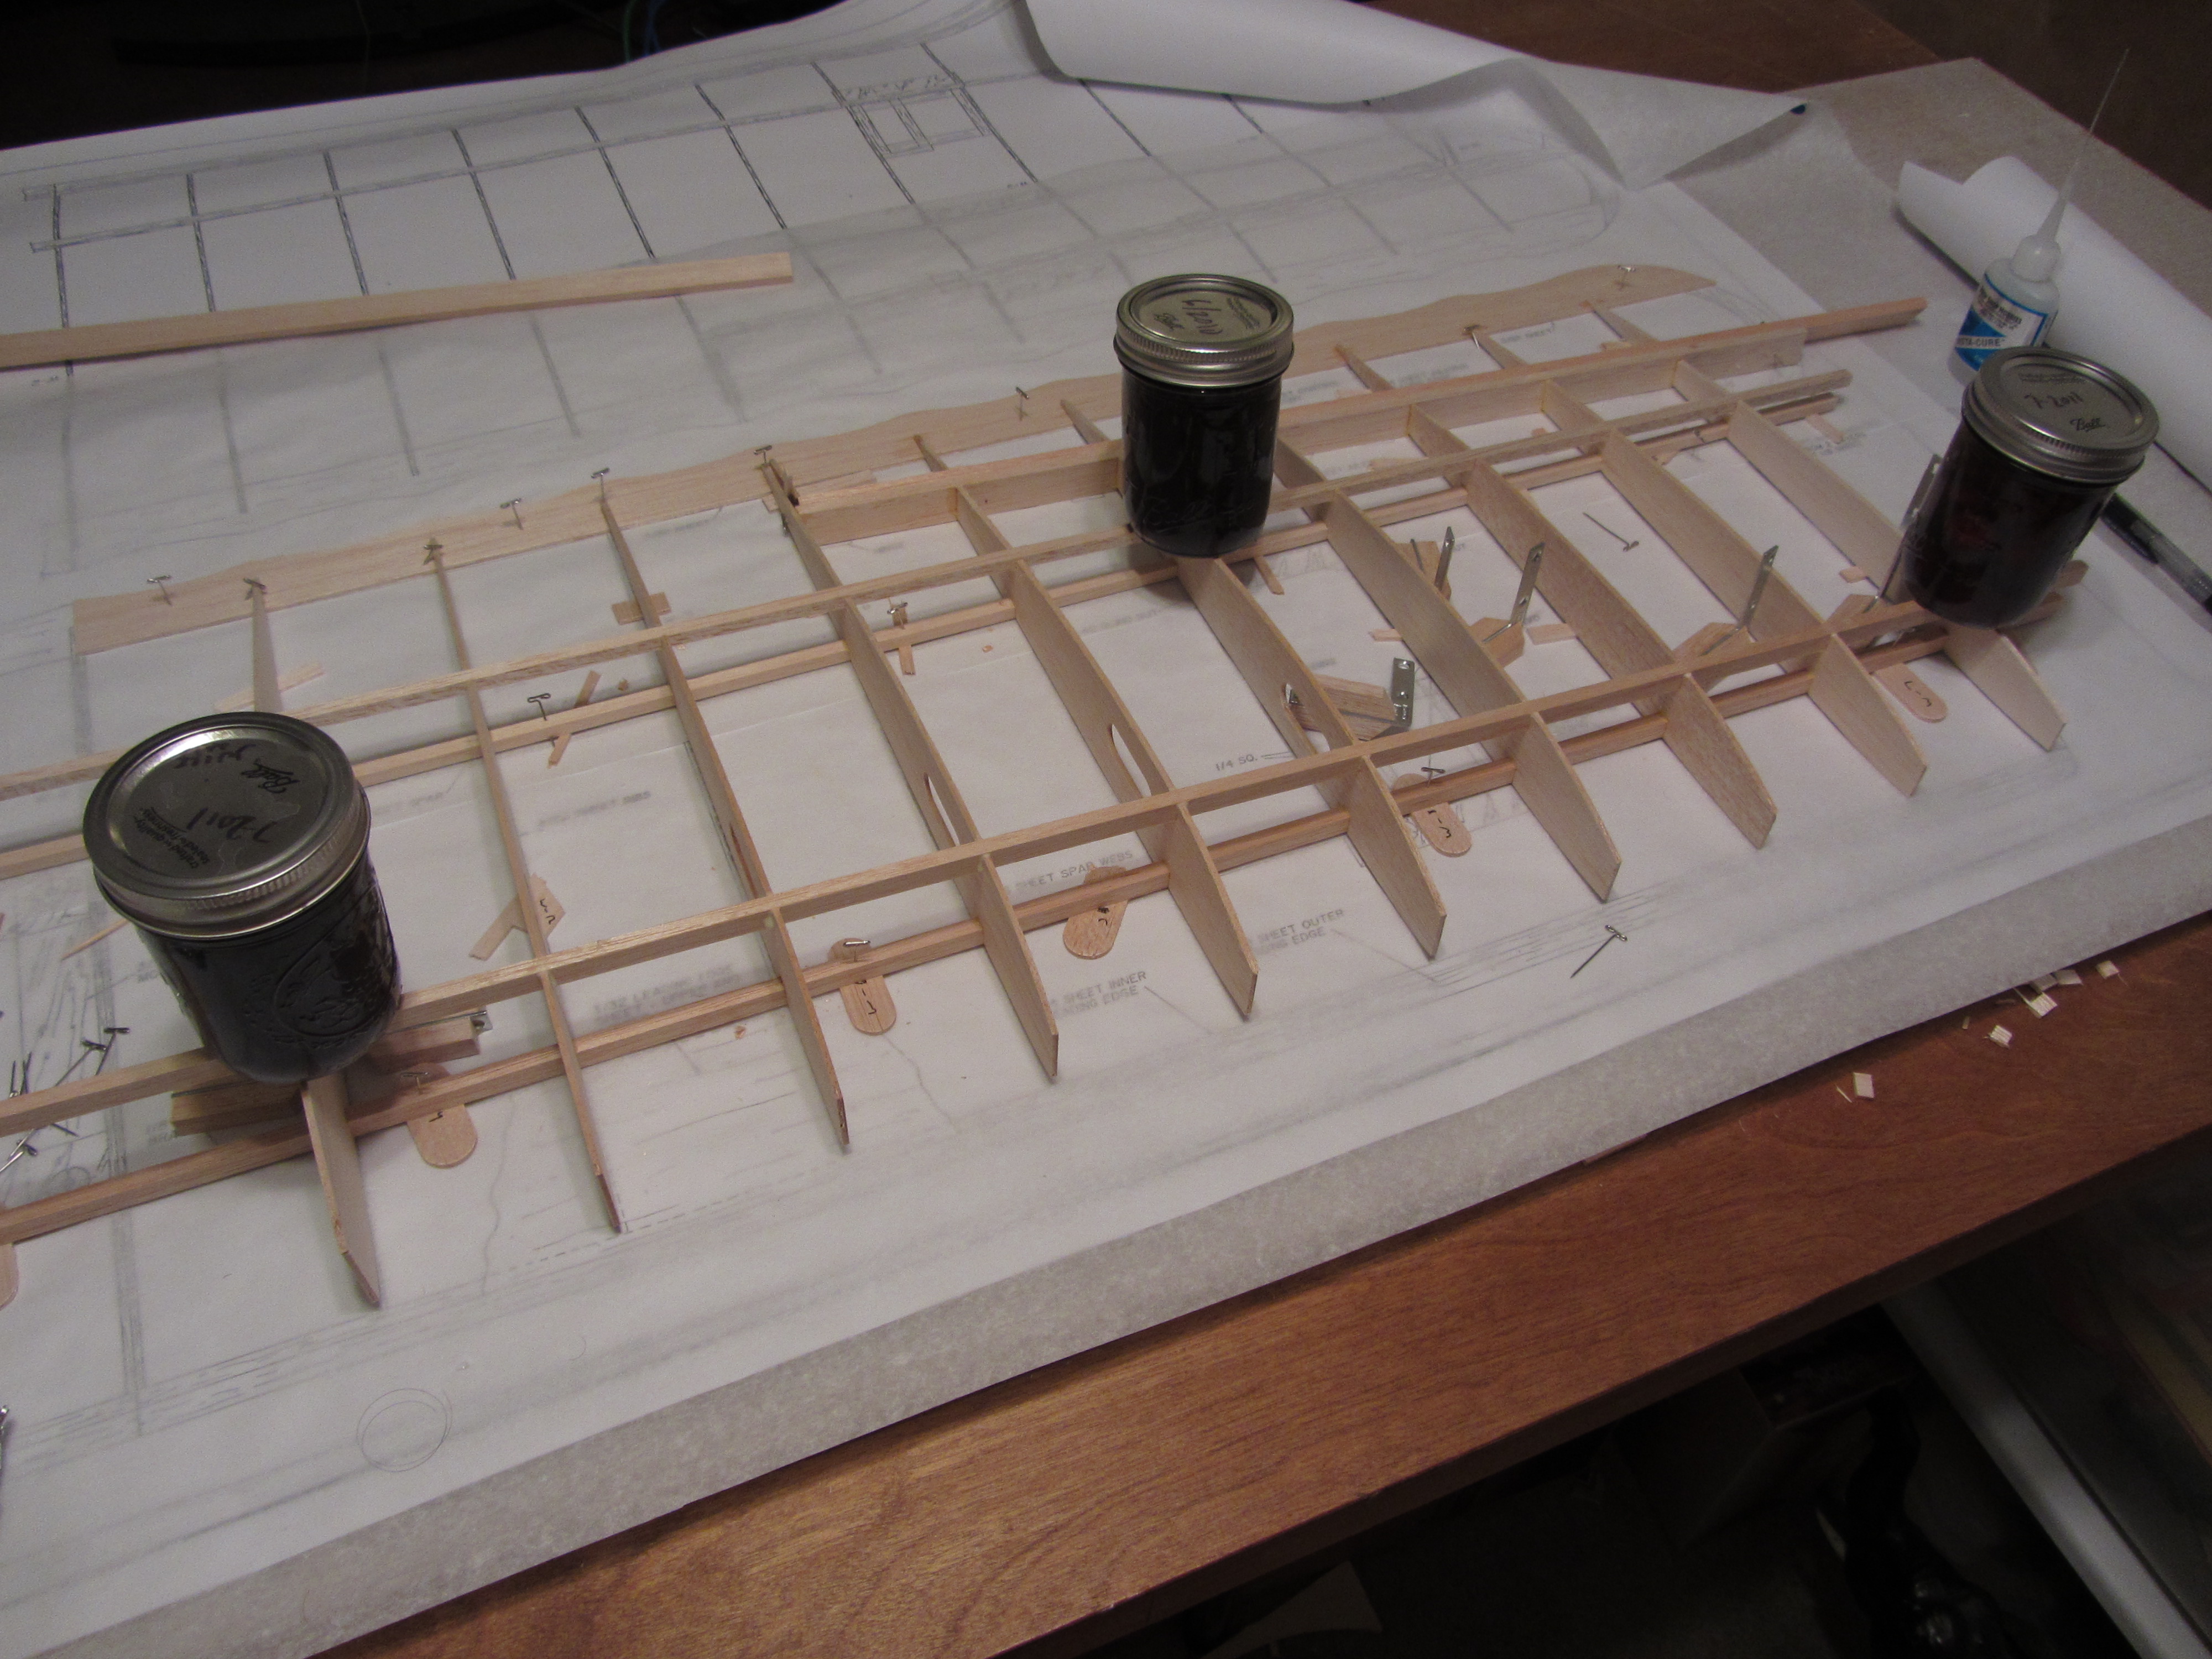
Once the rib is the proper height, the upper spars are put in place. I was still really trying to use wood glue at this point, so I had to weight the ribs down in place:
Yikes, it’s been a long time since I updated the status of the Fokker build, so I’m putting in posts for those. I’m going to go ahead and date the posts so that they match when the work was actually done, so a bunch of these are going to be real old posts.
First up, the aileron spar is put in place:
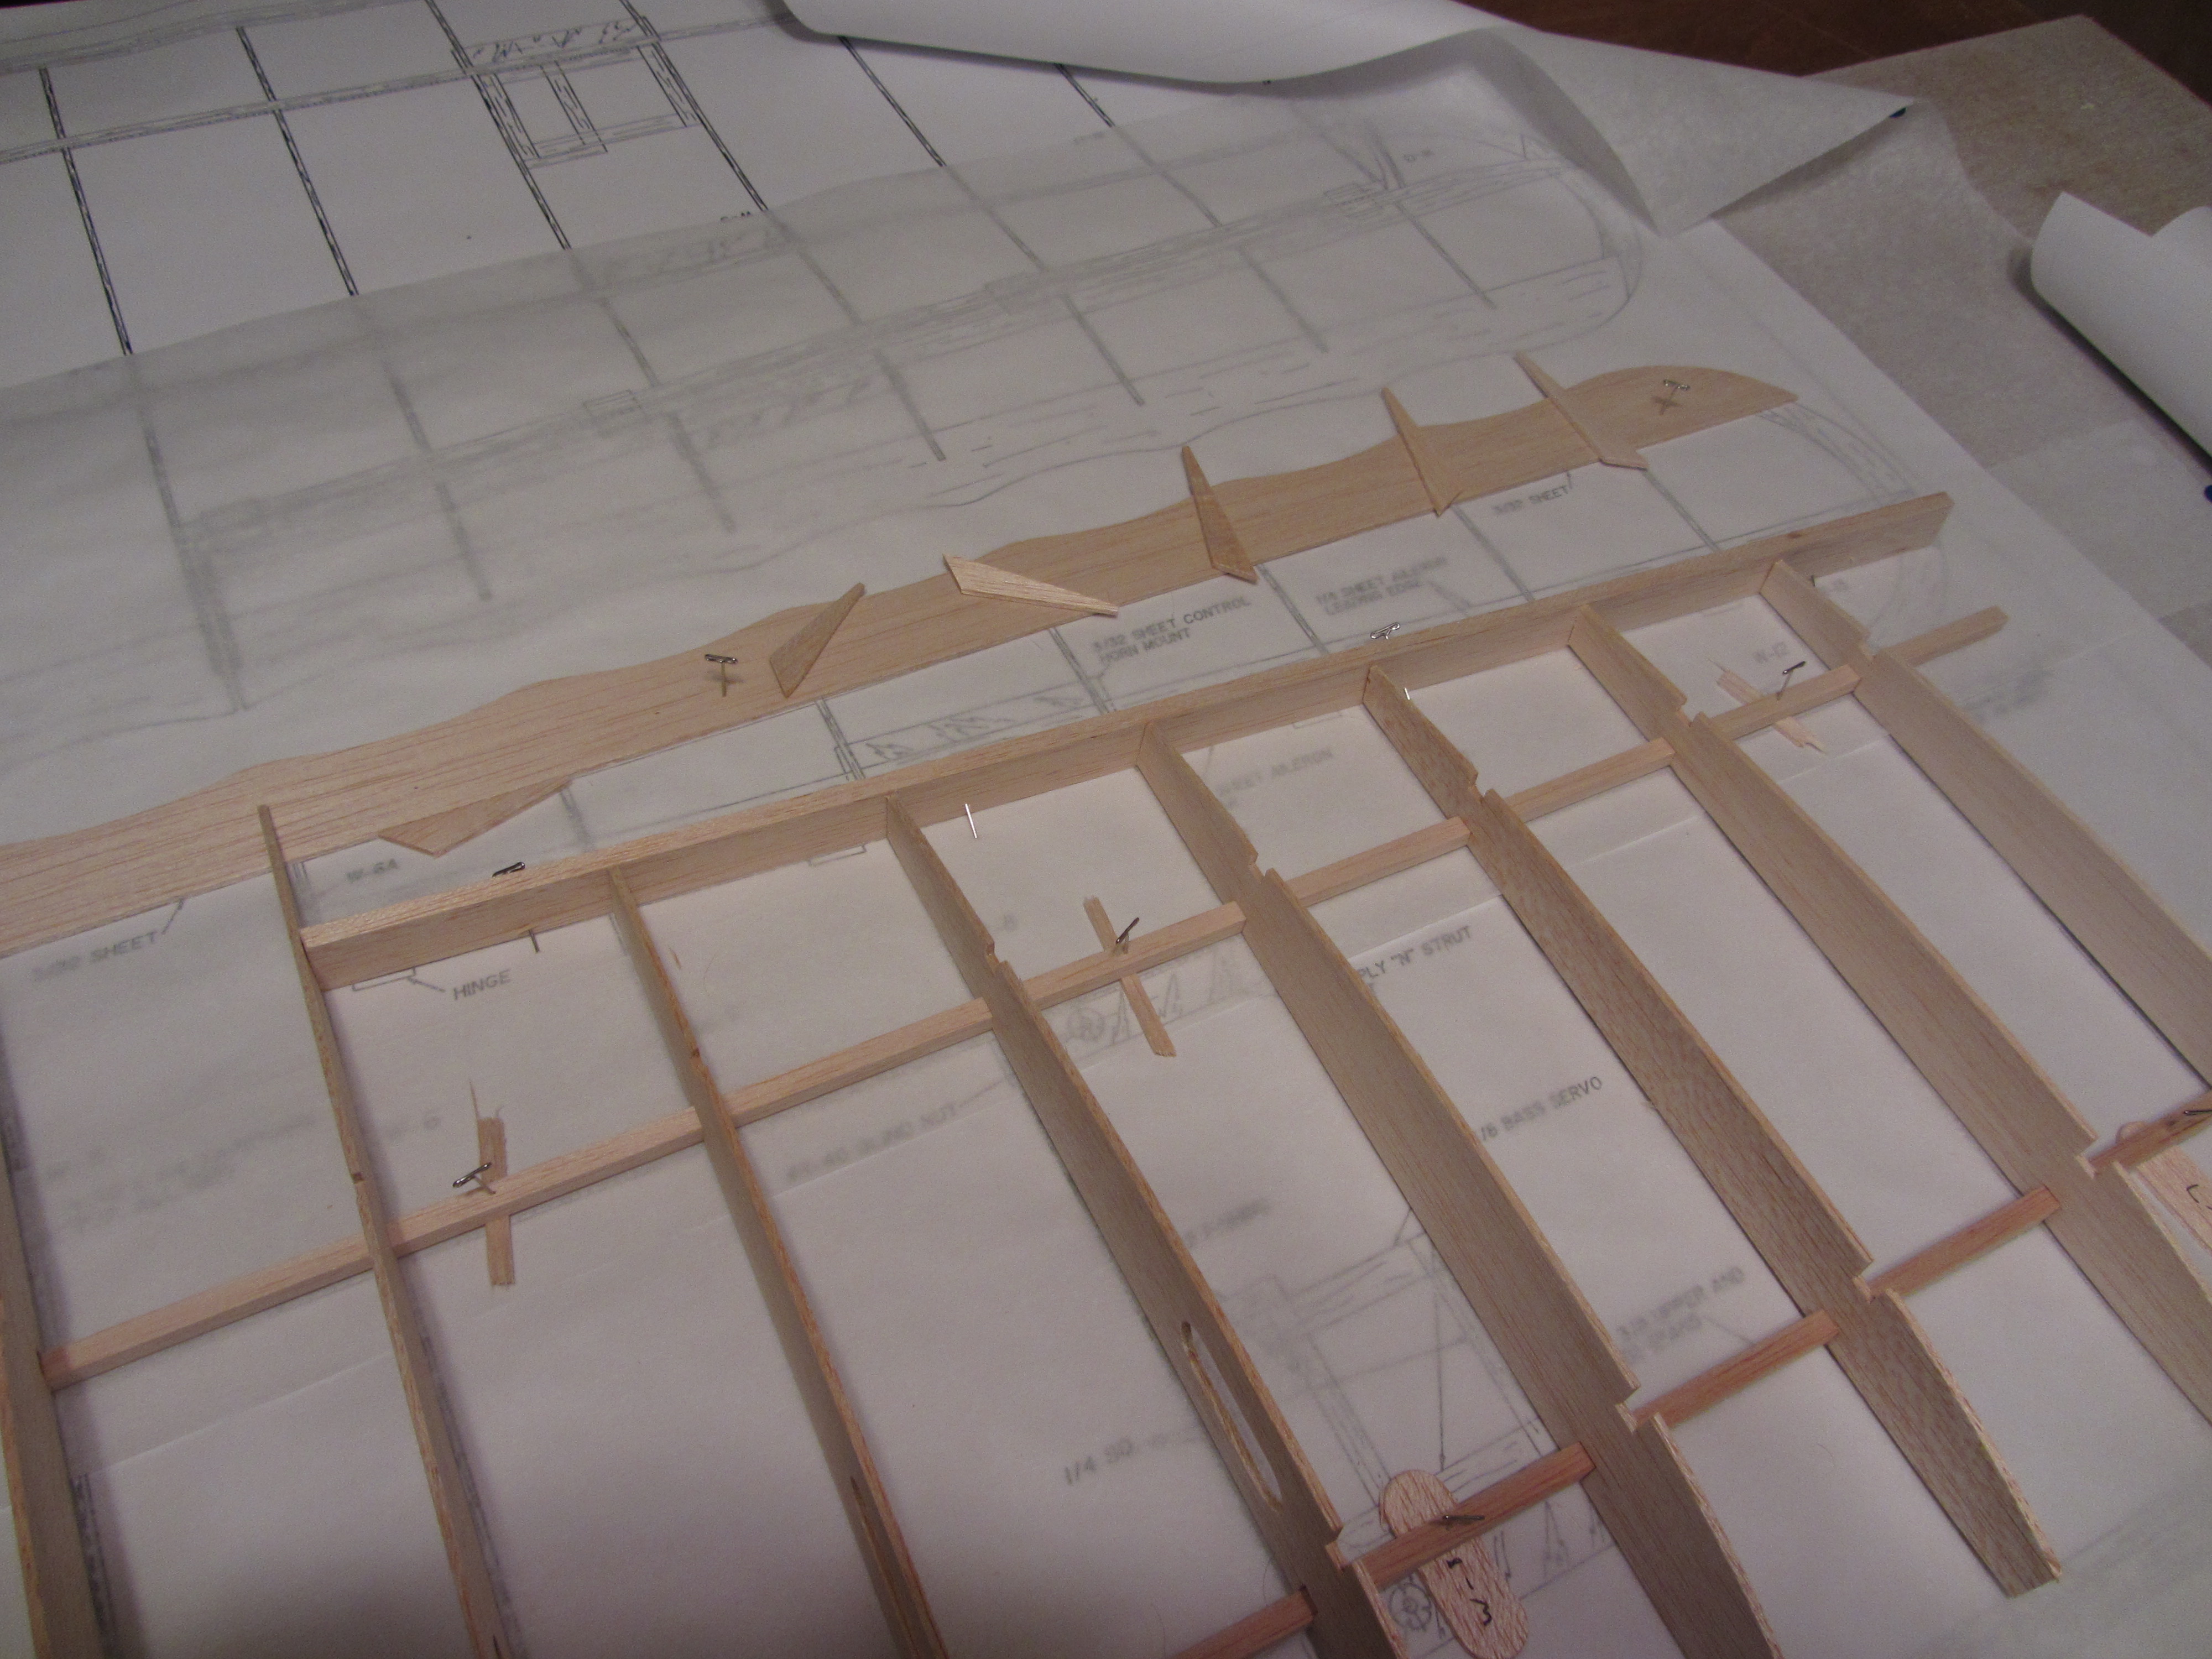
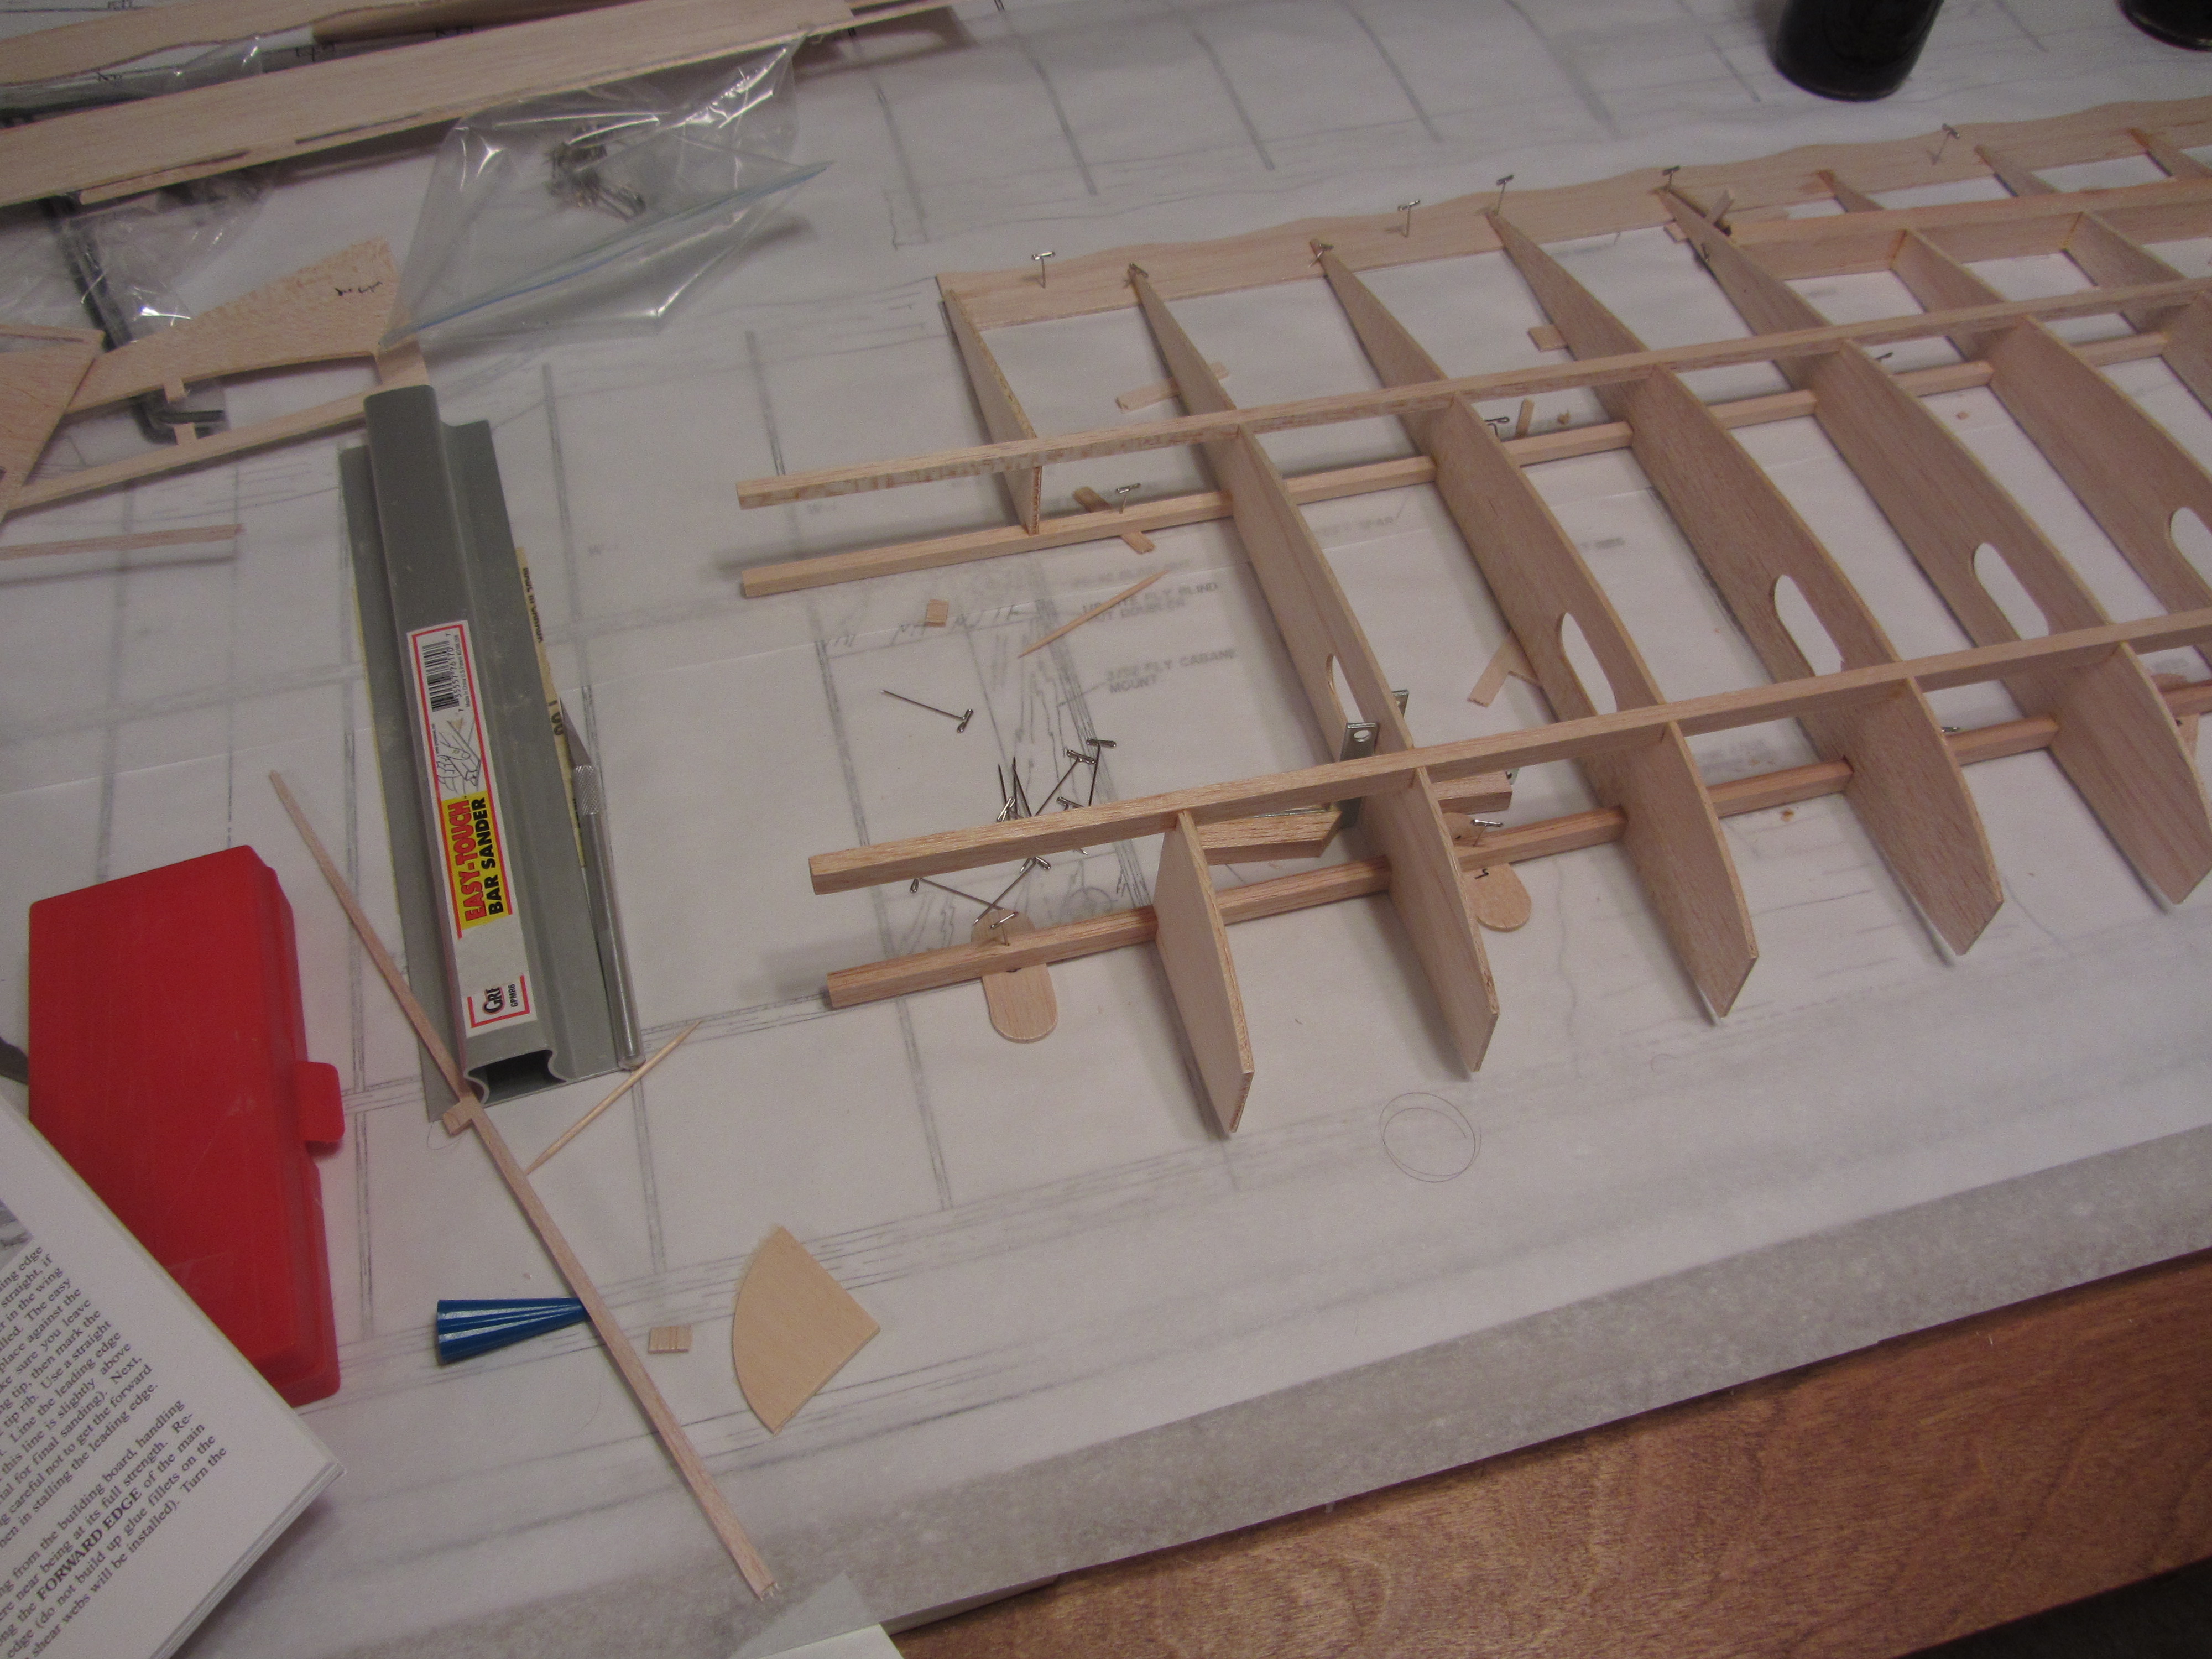
Next the ribs are being glued into place using the fleet of squares:
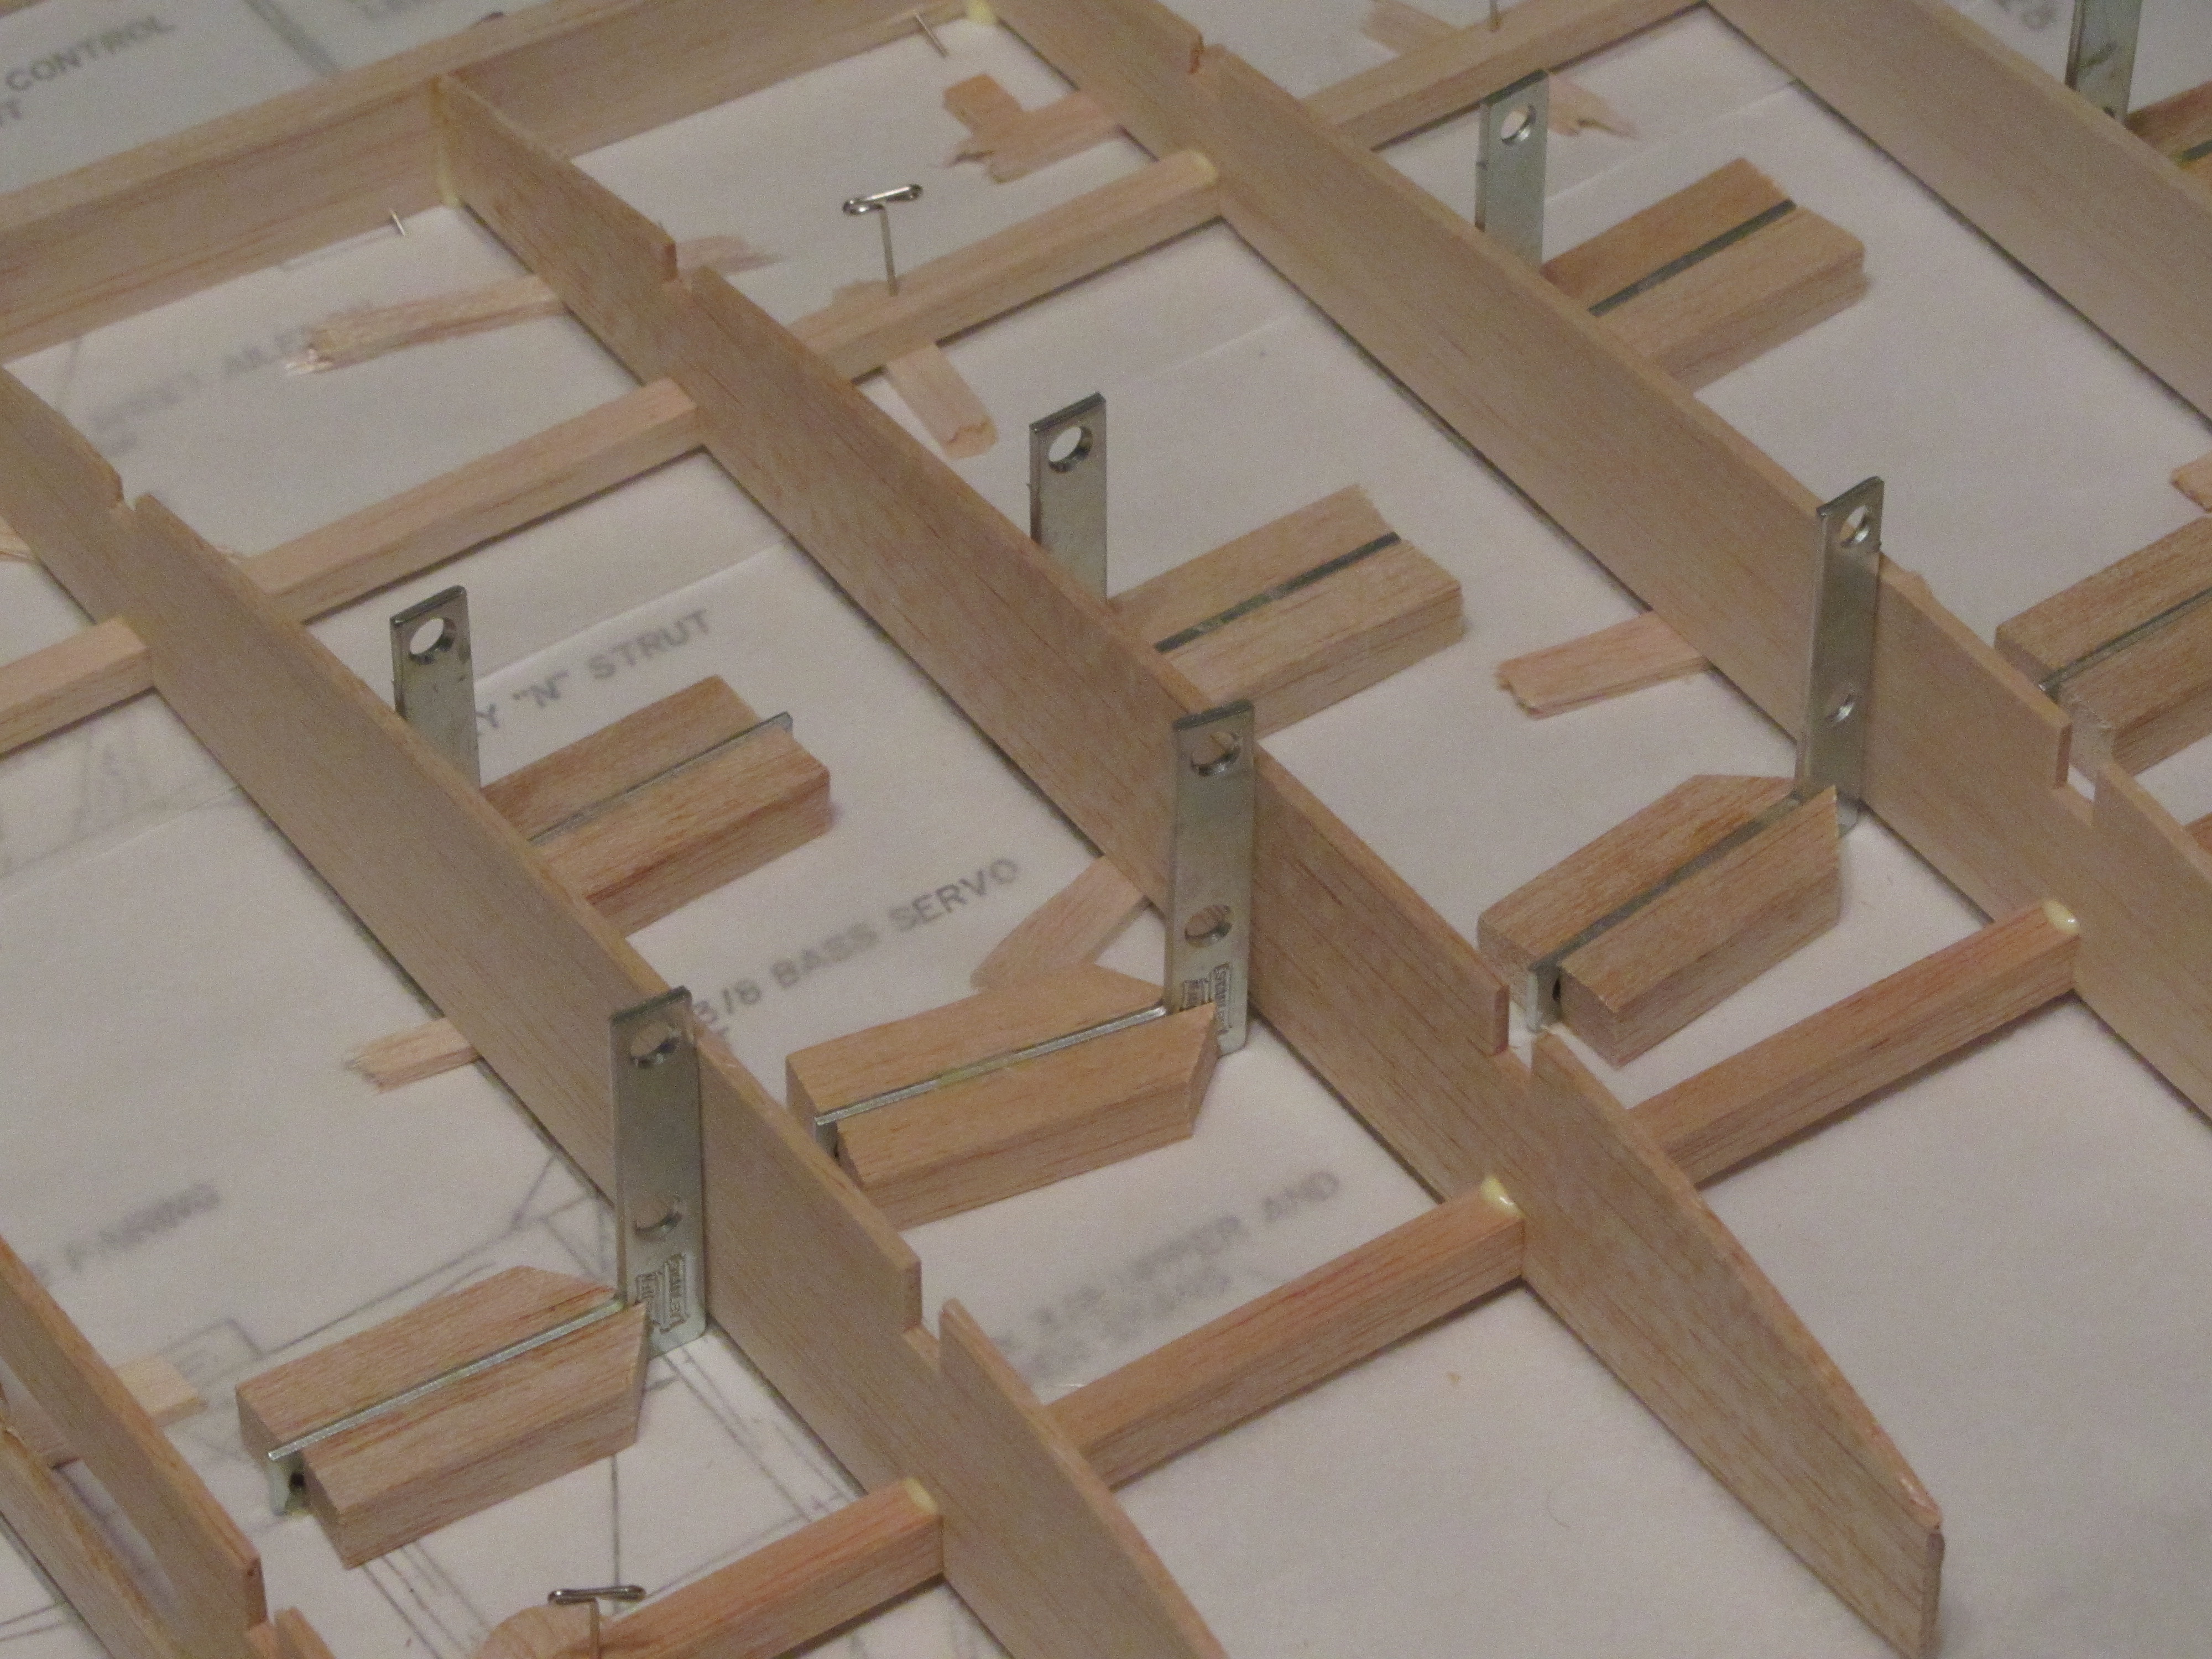
Ok, I fully admit I stole this idea from looking through some builds of planes. One thing that’s always kinda annoyed me when building wings is that I’ve never been able to find a builder’s square that was small enough to use in the space available that wasn’t too expensive to buy lots of them. I’ve seen the plastic triangle ones, but most of them are a little too big, and often there a couple of bucks each. So what I did was pick up some small angle braces (2 inches on a side). These ran 2 dollars for a pack of 4. Then I took some scrap wood and glued it along the bottom edge so they’ll stand. Kind of makes them look like little sailboats. From what I can tell, they’re pretty close to perfectly 90 degrees, so it makes them perfect for what I need.

Now I just need some really small canons to mount on them, and I can go invade really tiny countries.
Ok, first I laid out the bottom front spar, pinning it into place along a straight-edge to make sure it was straight. Then I pin down the trailing edge. After that I start putting the ribs into place, not gluing them yet.

Apparently Balsa USA still hasn’t fixed the problem they have with the W-7 rib, because indeed on my kit the rib is too tall. I’ll worry about that a little later.
First step is to start searching through the box for the parts needed to build the first half of the wing. Upon opening the box, my first thought was “Wow, that’s a lot of wood.” The box is just jam packed with a lot of sheets and a lot of sticks of wood. Kinda hard to believe that this pile is going to turn into an airplane.

It looks pretty bad in the box, but then I keep having to dig because I haven’t found the trailing edge for the wing. And keep digging. Meanwhile, the pile of wood outside the box keeps getting bigger and bigger, and believe me, out of the box it looks worse. Finally find the trailing edge as about the second to last piece in the box.

Spent the rest of the evening trying to identify the ribs I needed. Balsa USA doesn’t seem to punch any identification onto the ribs, so you have to use the pictures in the manual to try to identify them. The sheets with ribs W-6 and W-7 I found particularly difficult to distinguish.
I had picked up this kit back about a year and a half ago at the Toledo show, with the original intention that I’d start working on it last winter. Of course, I hadn’t quite finished the BTE Venture kit at the time, and that dragged out and I didn’t get that project done until early this summer.
Well, the Venture currently resides somewhere out in the middle of the cornfield southeast of the club field. Ever try looking for something in a cornfield? It sucks. That plane took me about 5 years to build (all my own fault, it’s really a great kit, I’d love to get another one down the road). So now it’s time to start working on the Balsa USA Fokker D.VII kit. The plan here is to finish this in a much more reasonable period of time. I’m kinda hoping for getting it finished over the winter, but we’ll see. With two wings, I may still be writing about this 9 years from now :).
So, the first step is I needed a decent building board. The last plane I’d built on the kitchen island, which worked ok (Cathy would argue with that though), but really wouldn’t be adequate for this plane – the top wing when finished on this plane is about 88 inches, the island just isn’t big enough. So I visited the local Habitat ReStore outlet, looking for a hollow core door that was nice and flat. Found one there for five dollars, and then picked up a couple of ceiling tiles at the hardware store. Presto, a nice building surface.

Then I pinned the top wing plans down to the board.

Pictures for this build will be available at the photo section of the website.