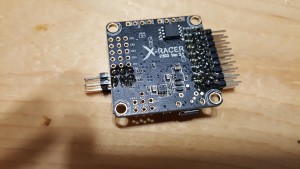
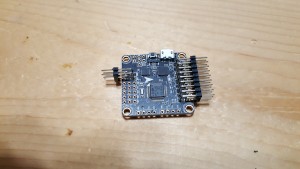
I went with an X-Racer F303 v3.1 flight controller. Pretty basic controller for doing things like building a racing quad. This controller lacks the ability to do things like gps, but for a racing quad that’s not needed.
The controller comes without the pin headers installed, so the first step was to install those.
Lots of little tiny spots to solder. I had to get a small tip for my soldering iron in order to do this, because all I had was about a quarter inch chisel tip style tip. I actually put more headers in than I really needed. On the left side I really only need the 1 for the sbus connection, but I thought 2 might be a little more stable. On the right, I only really need channels 1-4, plus a channel for bringing in power, and the led pin set. I figured it was easier just to put all of them in over there.
I did have a moment of panic while I was testing things with the multimeter to make sure I didn’t short circuit everything. I was testing between various pins and getting continuity between them. Took me a minute or so to figure out that that made sense – pins all along the ground line naturally all are connected to each other.


