Trimming cap strips and shaping aileron end

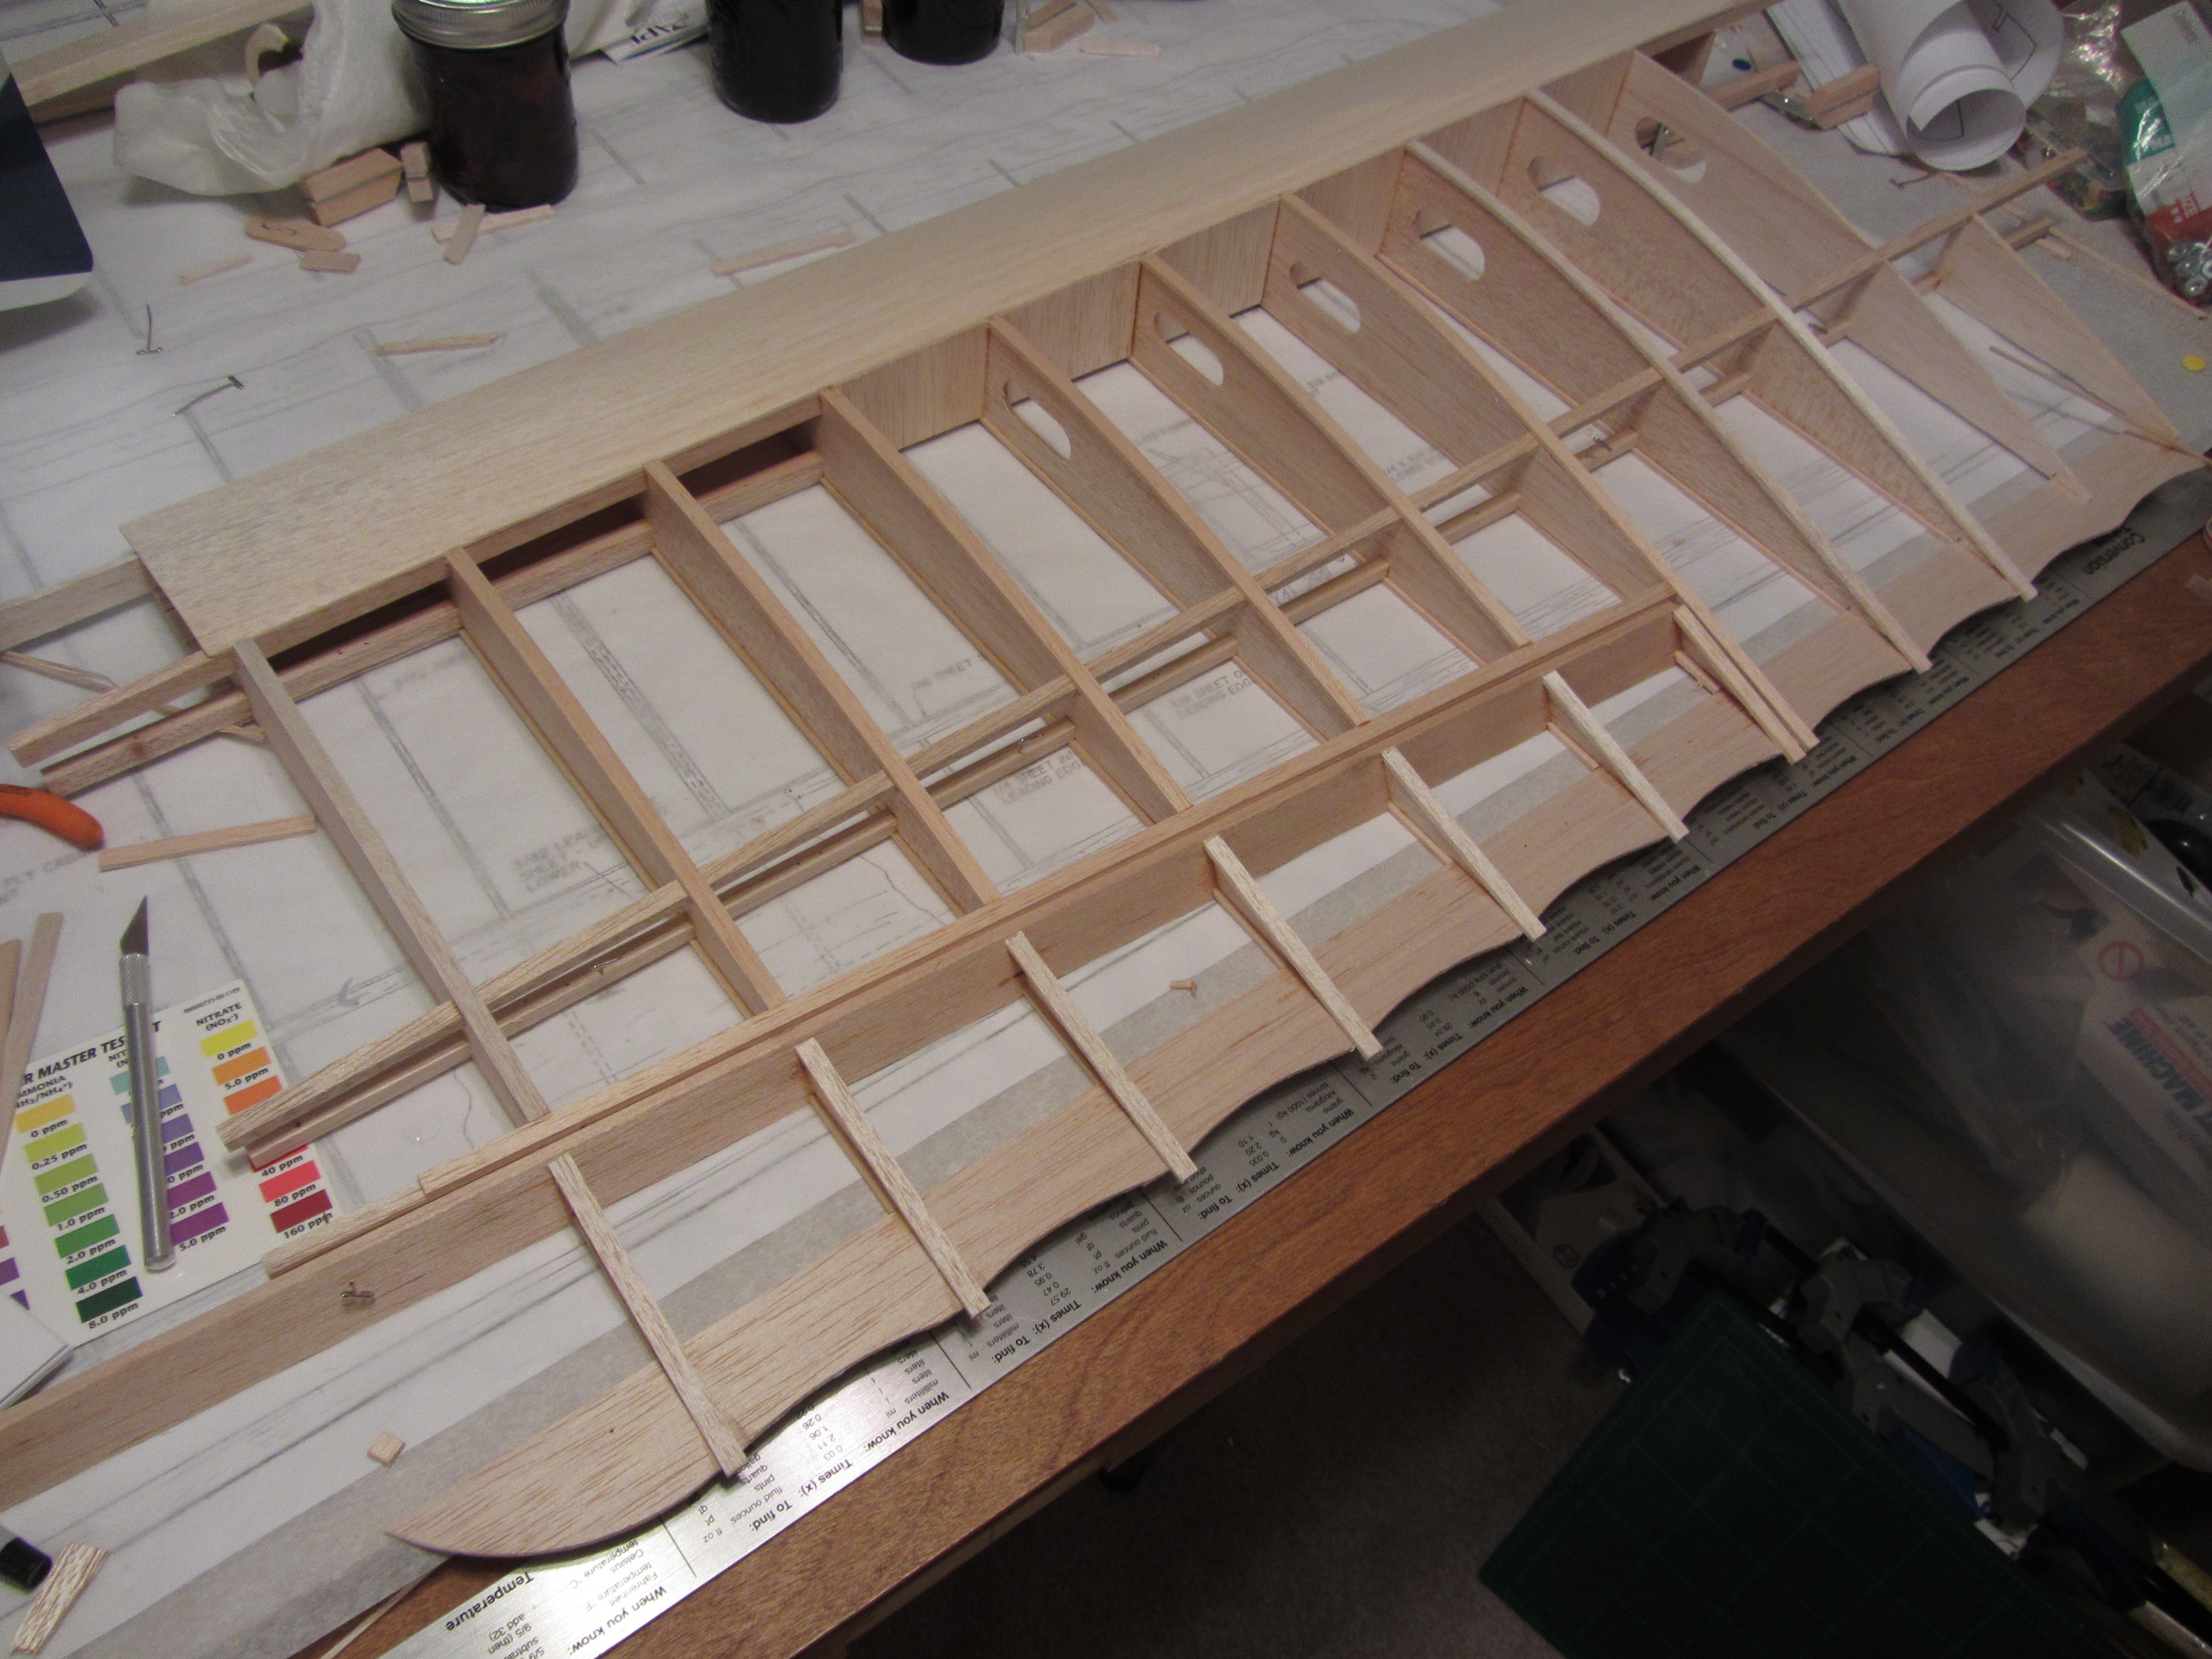
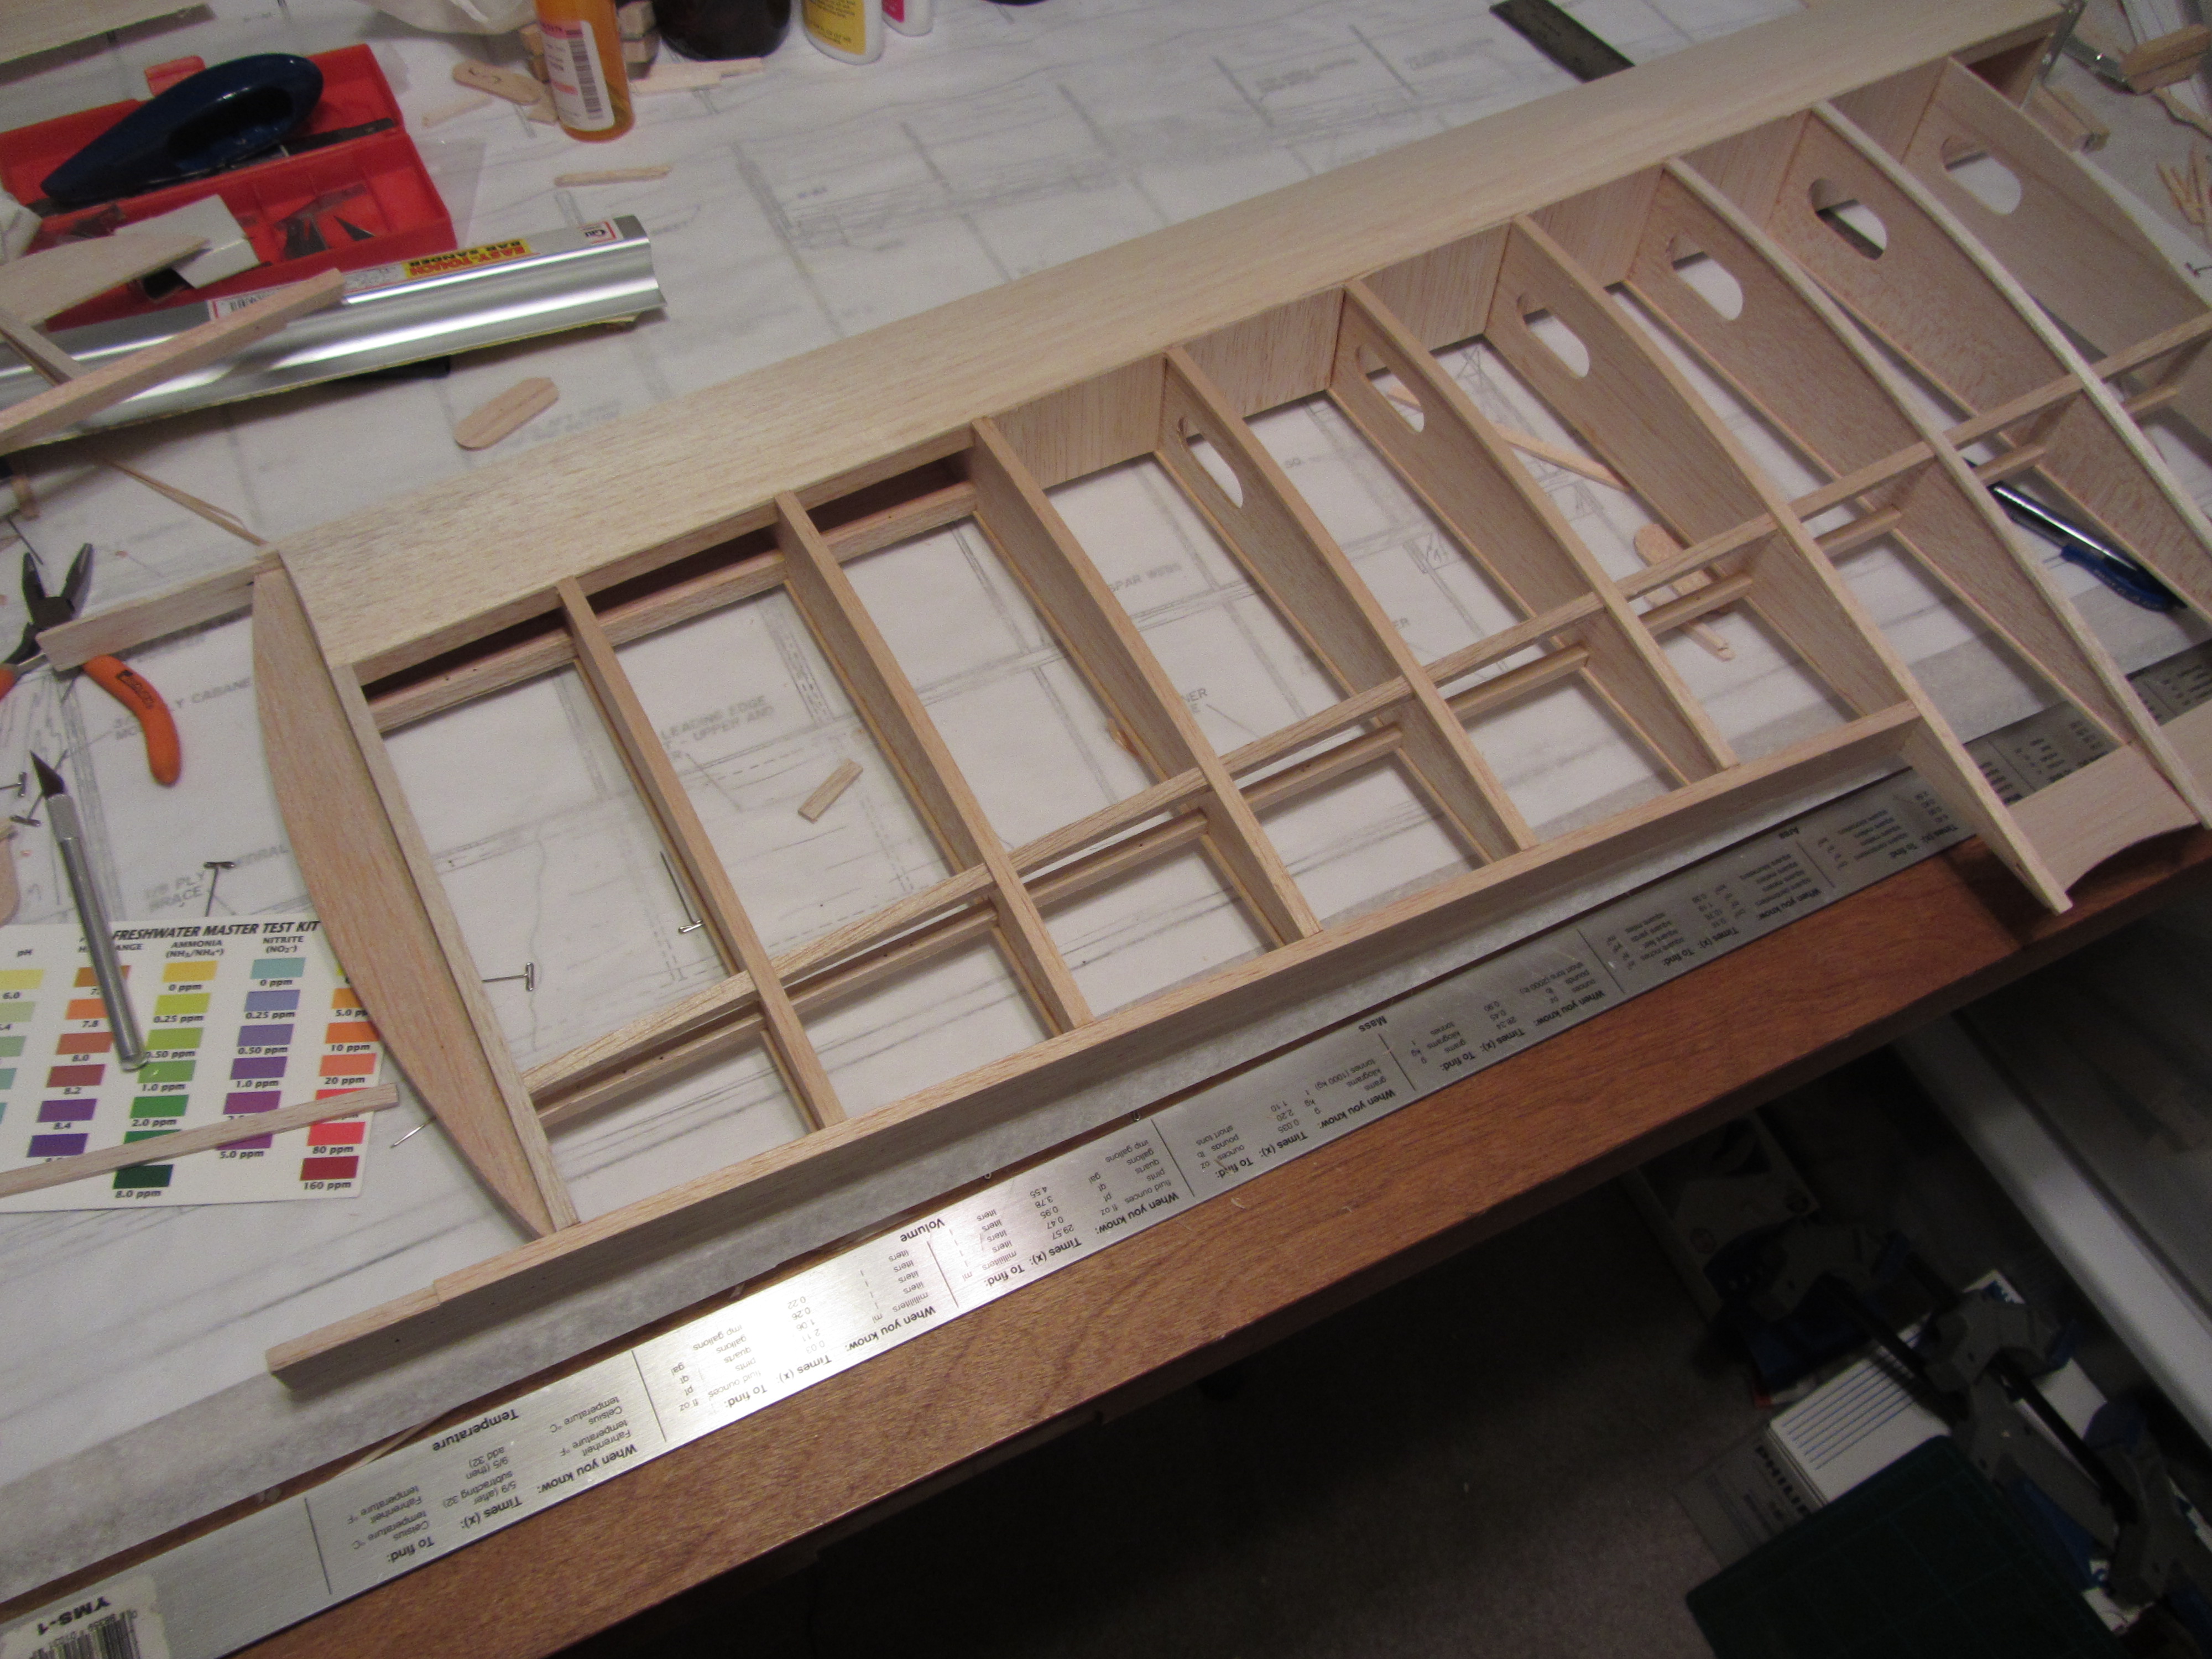
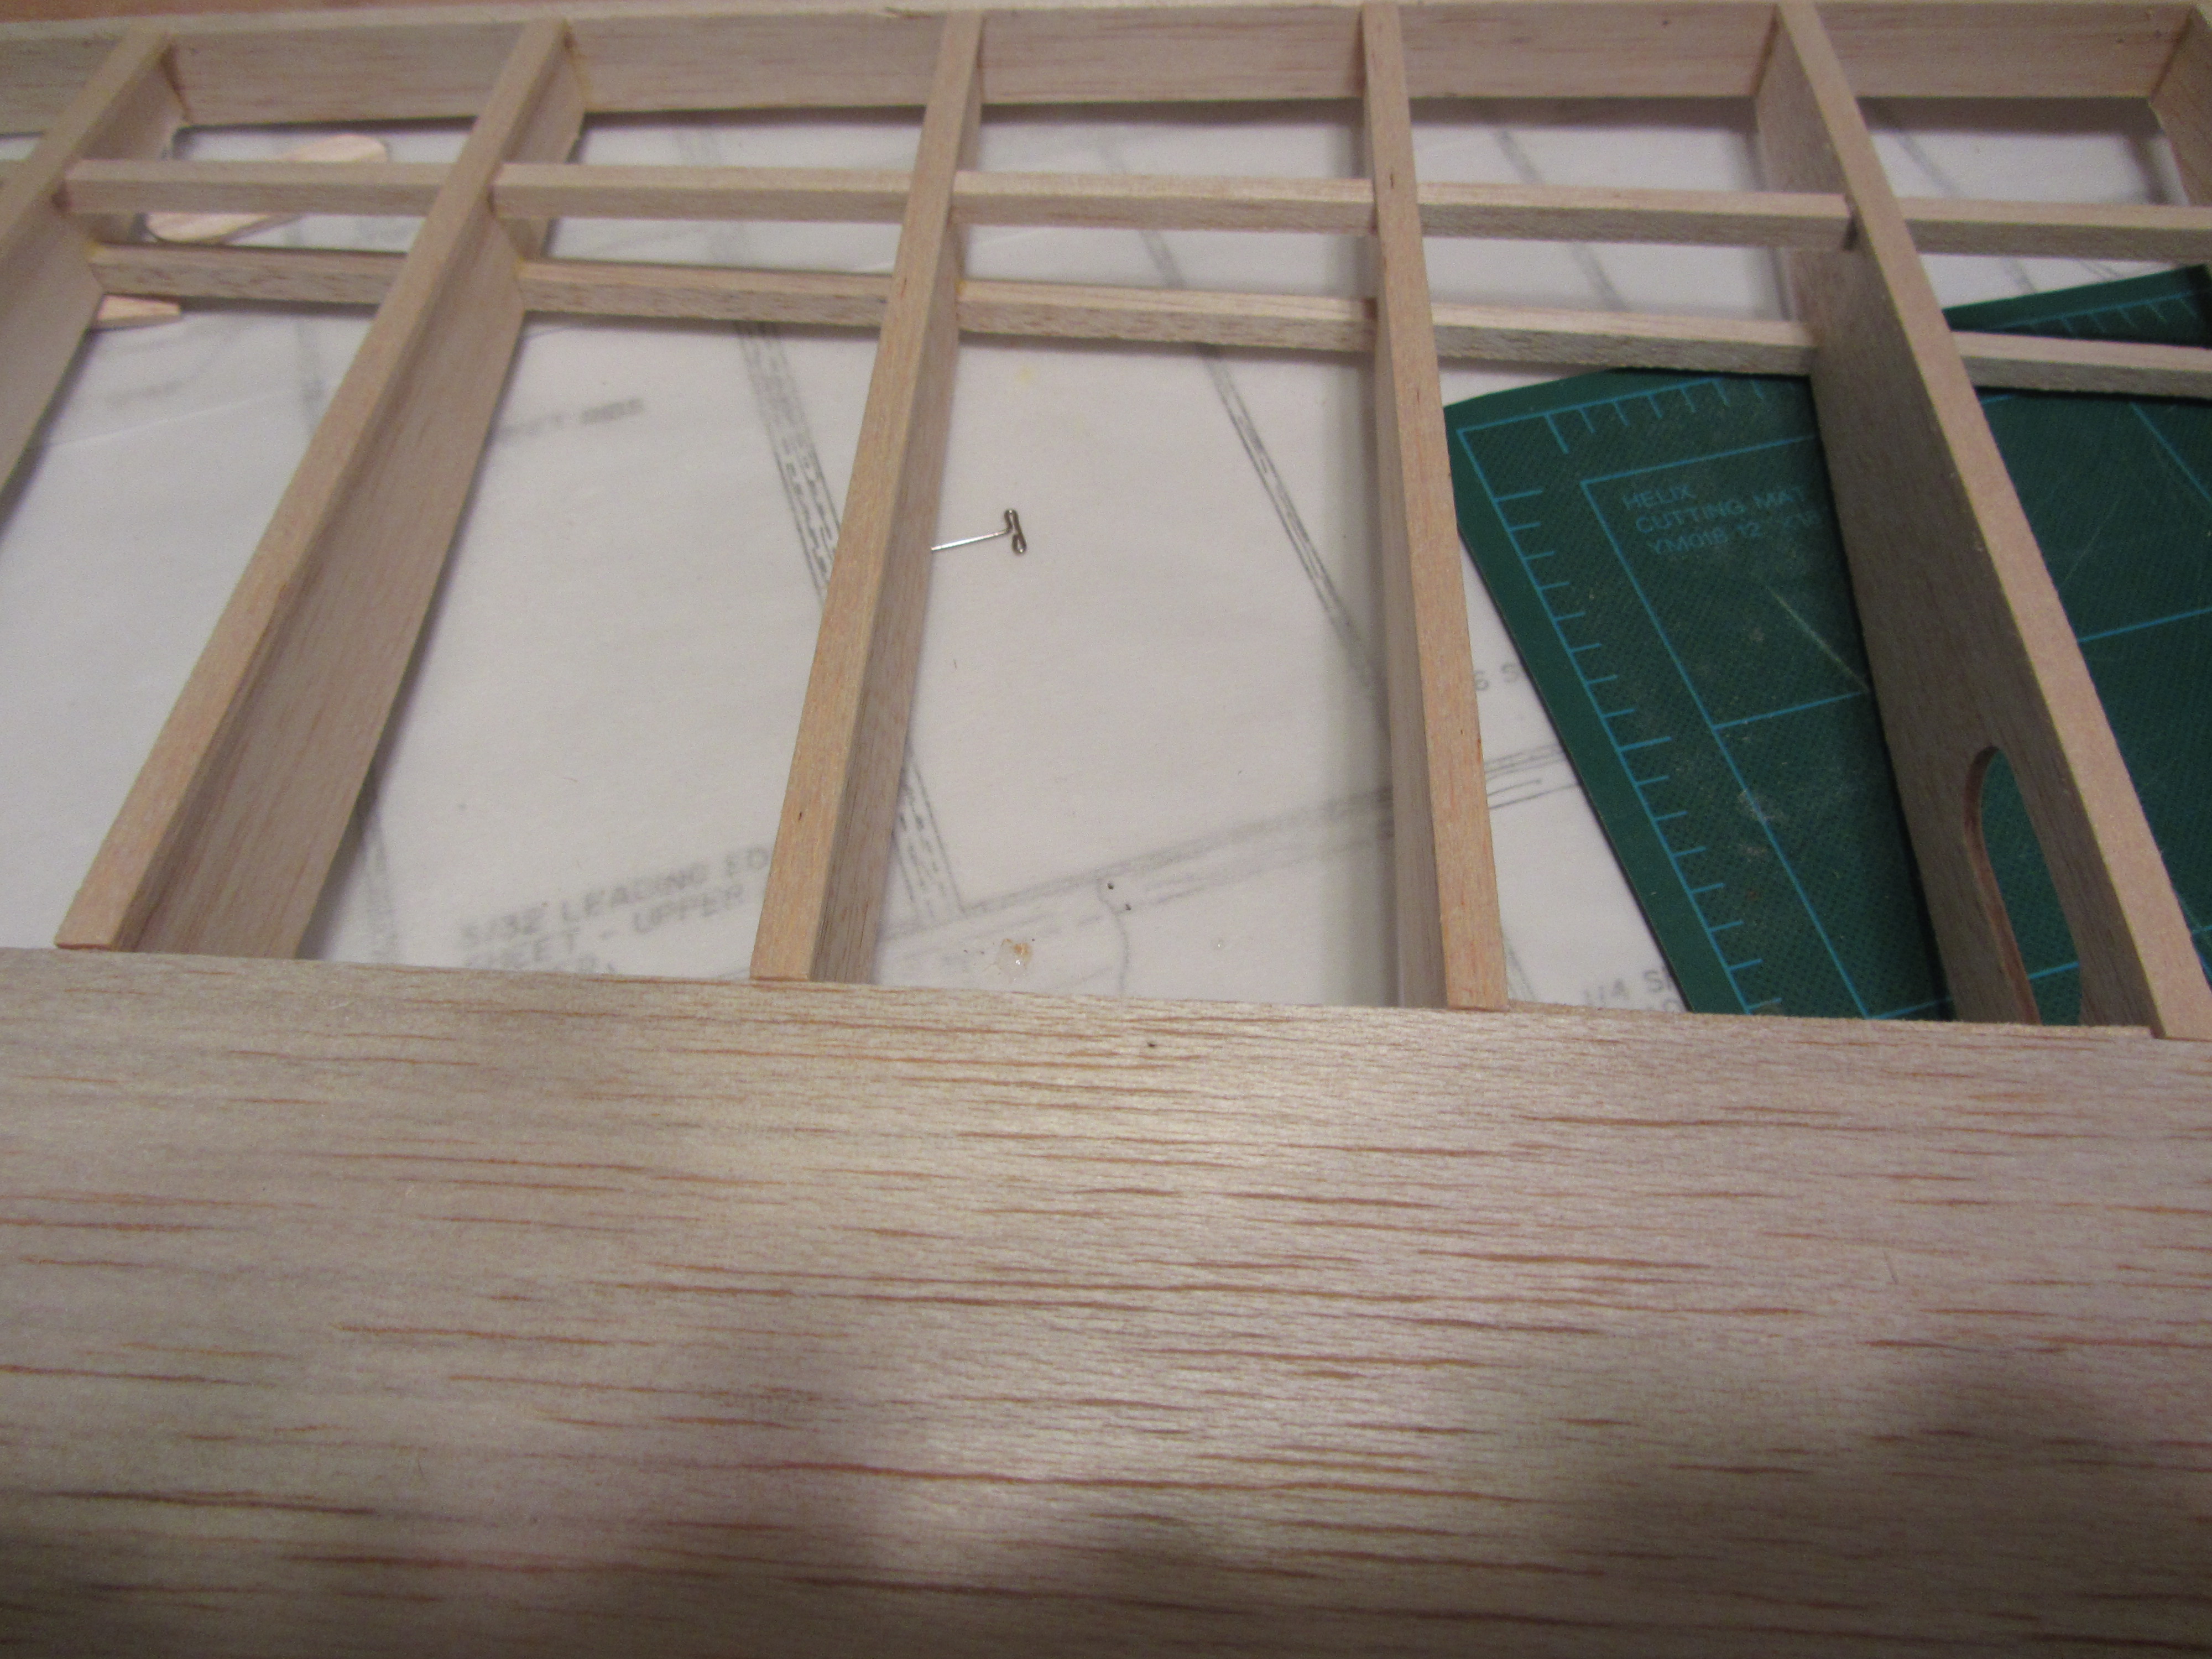
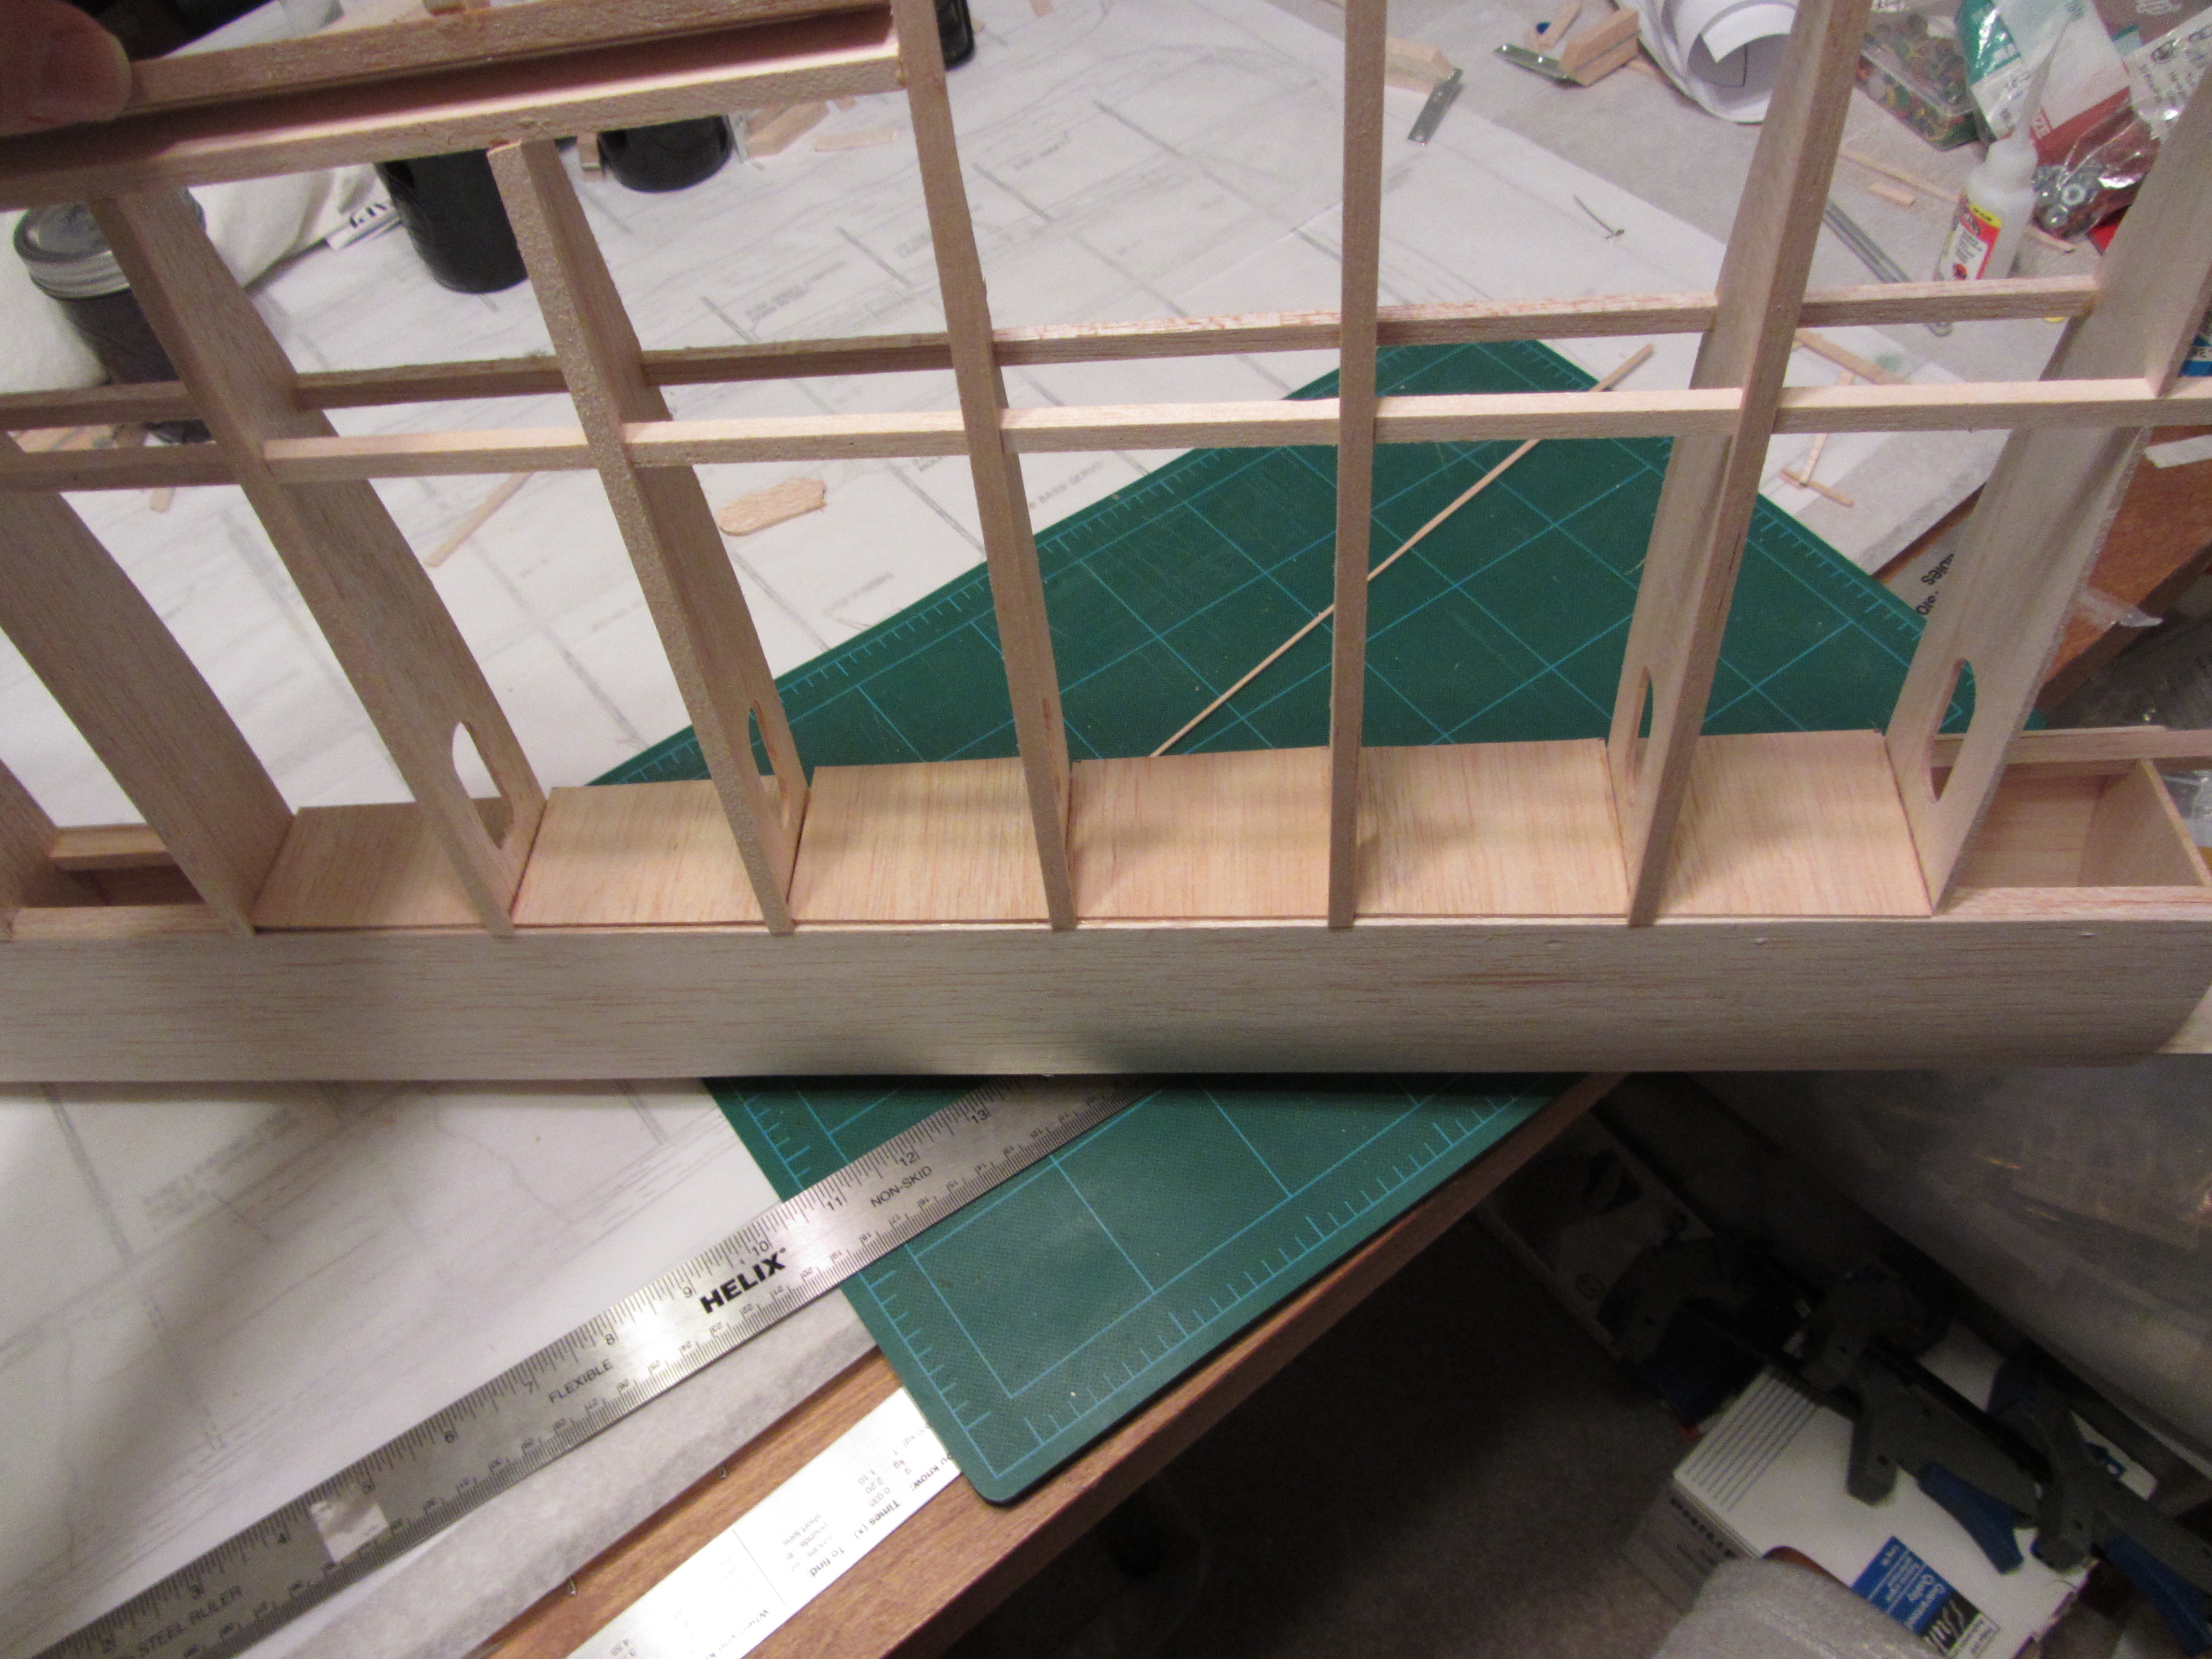
The cap strips need to be trimmed down and then sanded so they match up with the trailing edge.  I’m not absolutely sure this this is how they’re supposed to look at the trailing edge, but I couldn’t really find any good pictures of anyone else’s, so that’s how they’ll be.

IMG_1846

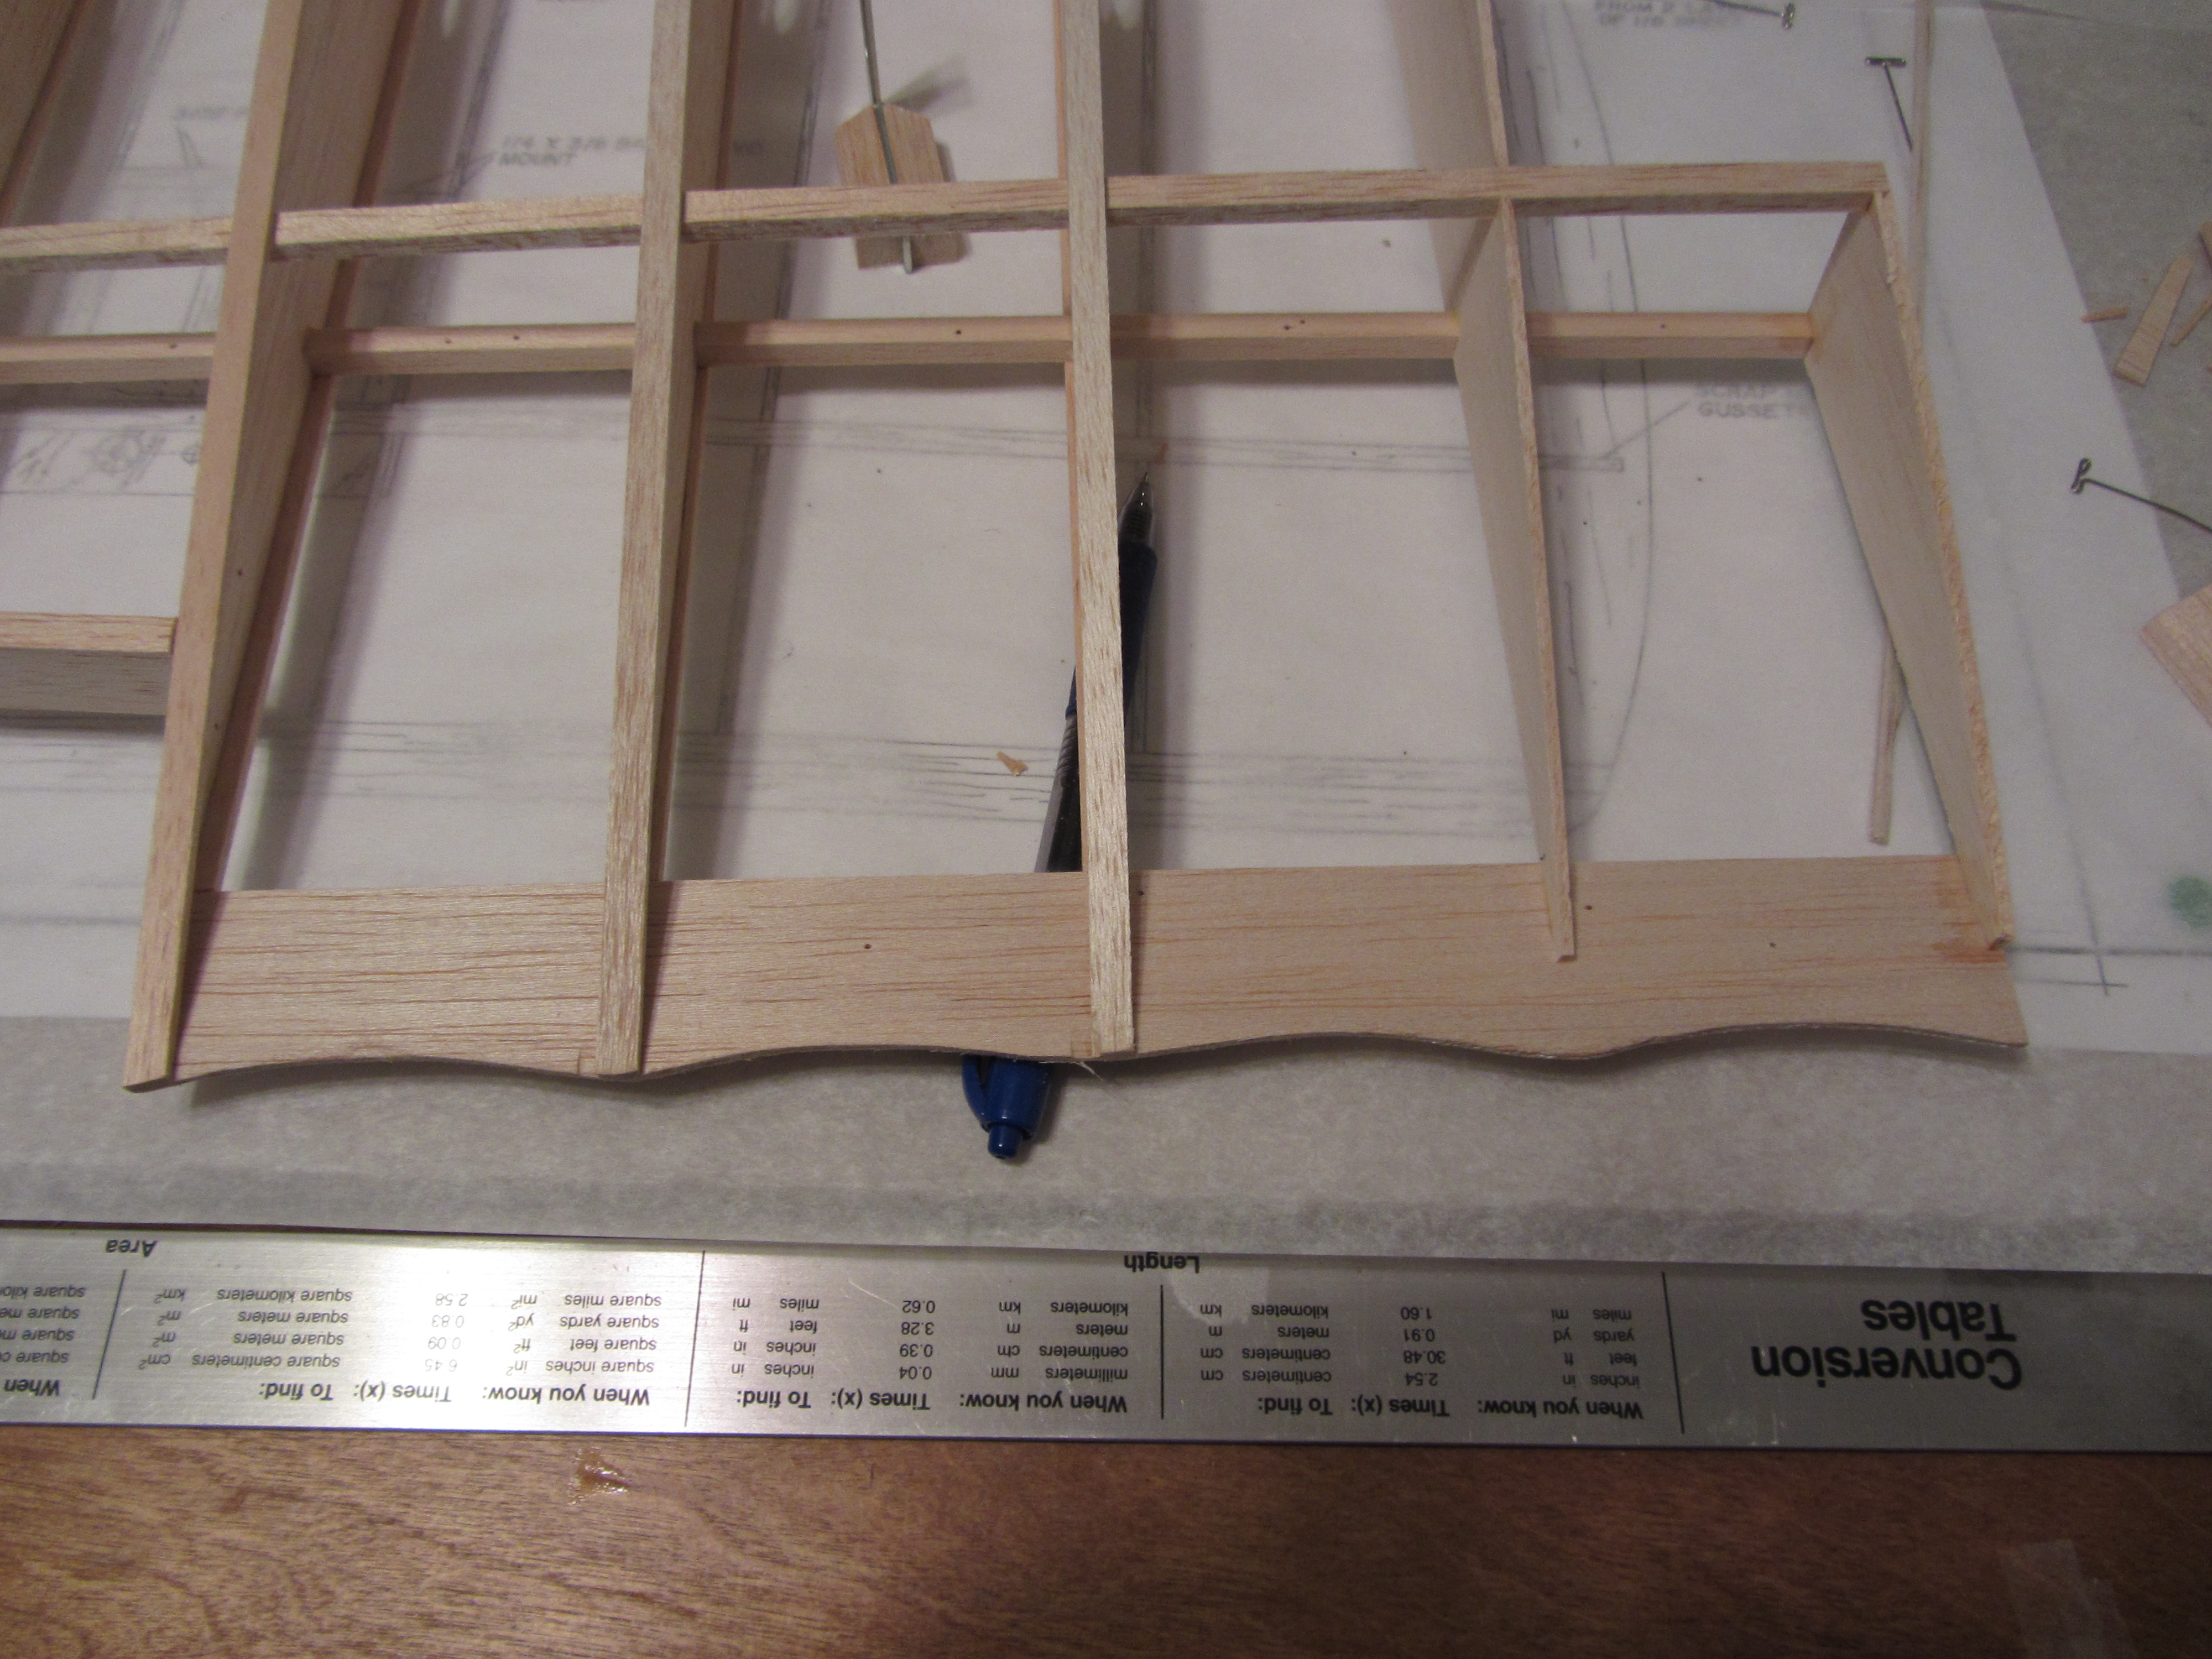
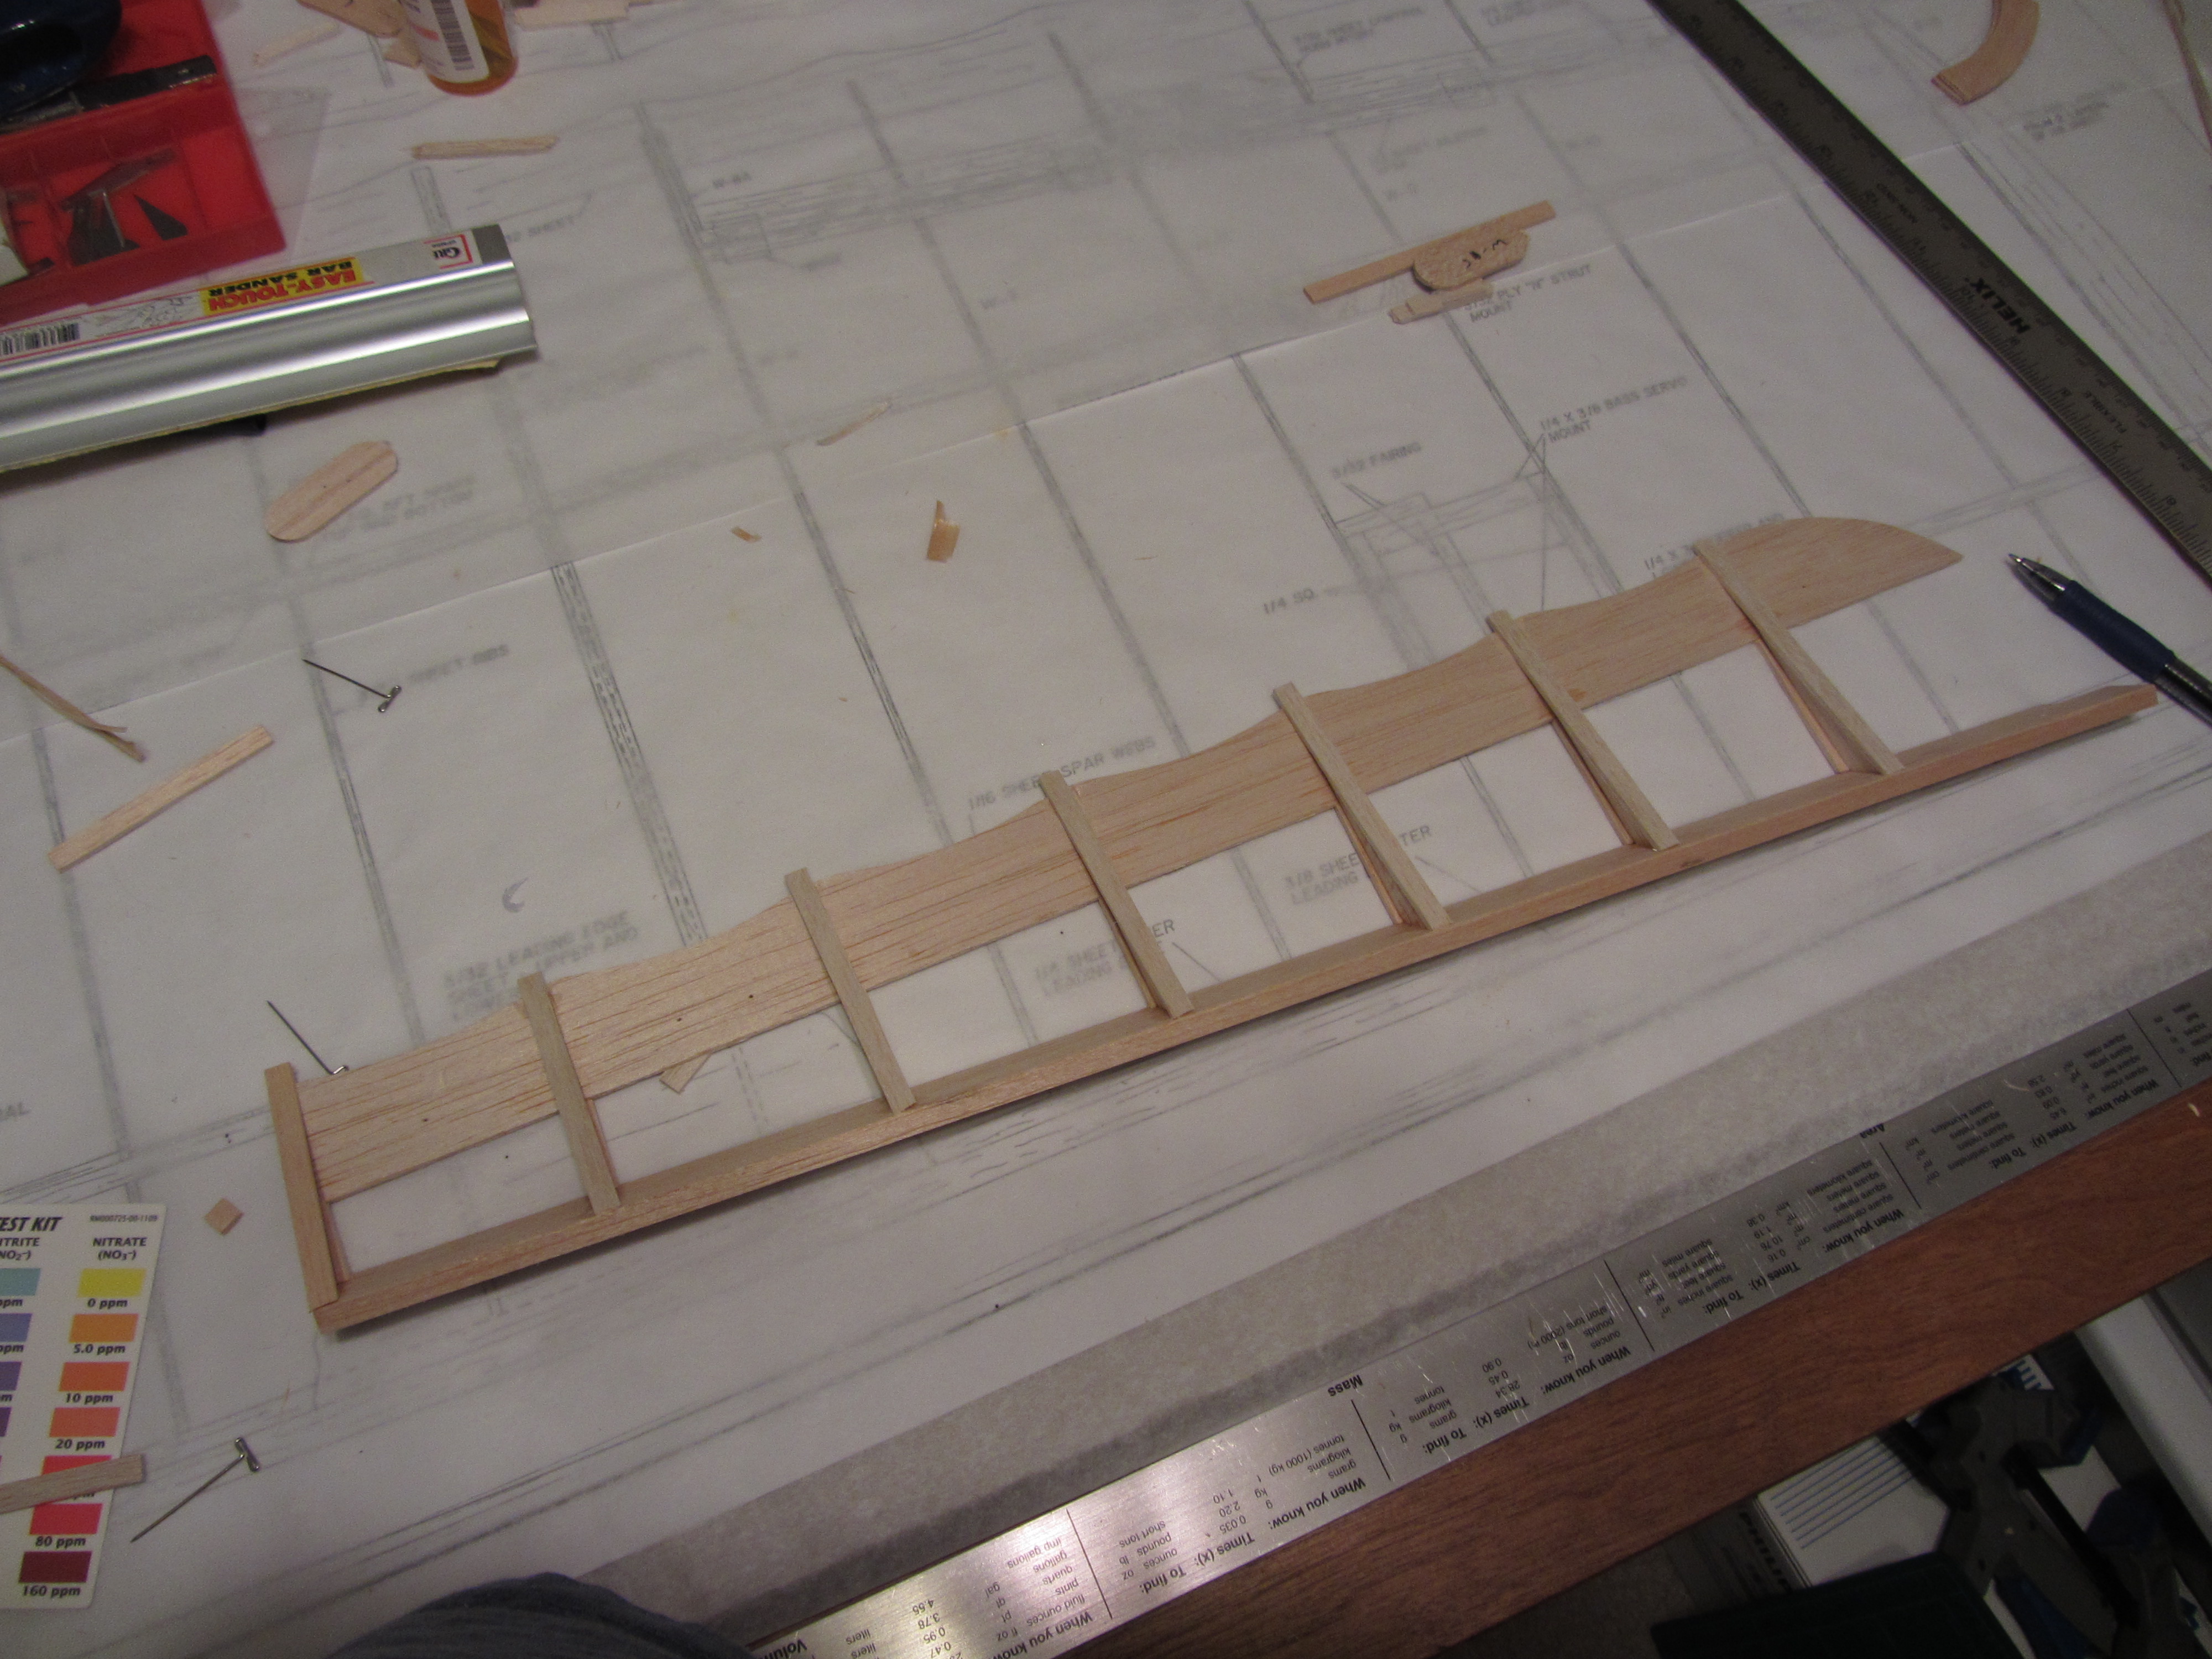
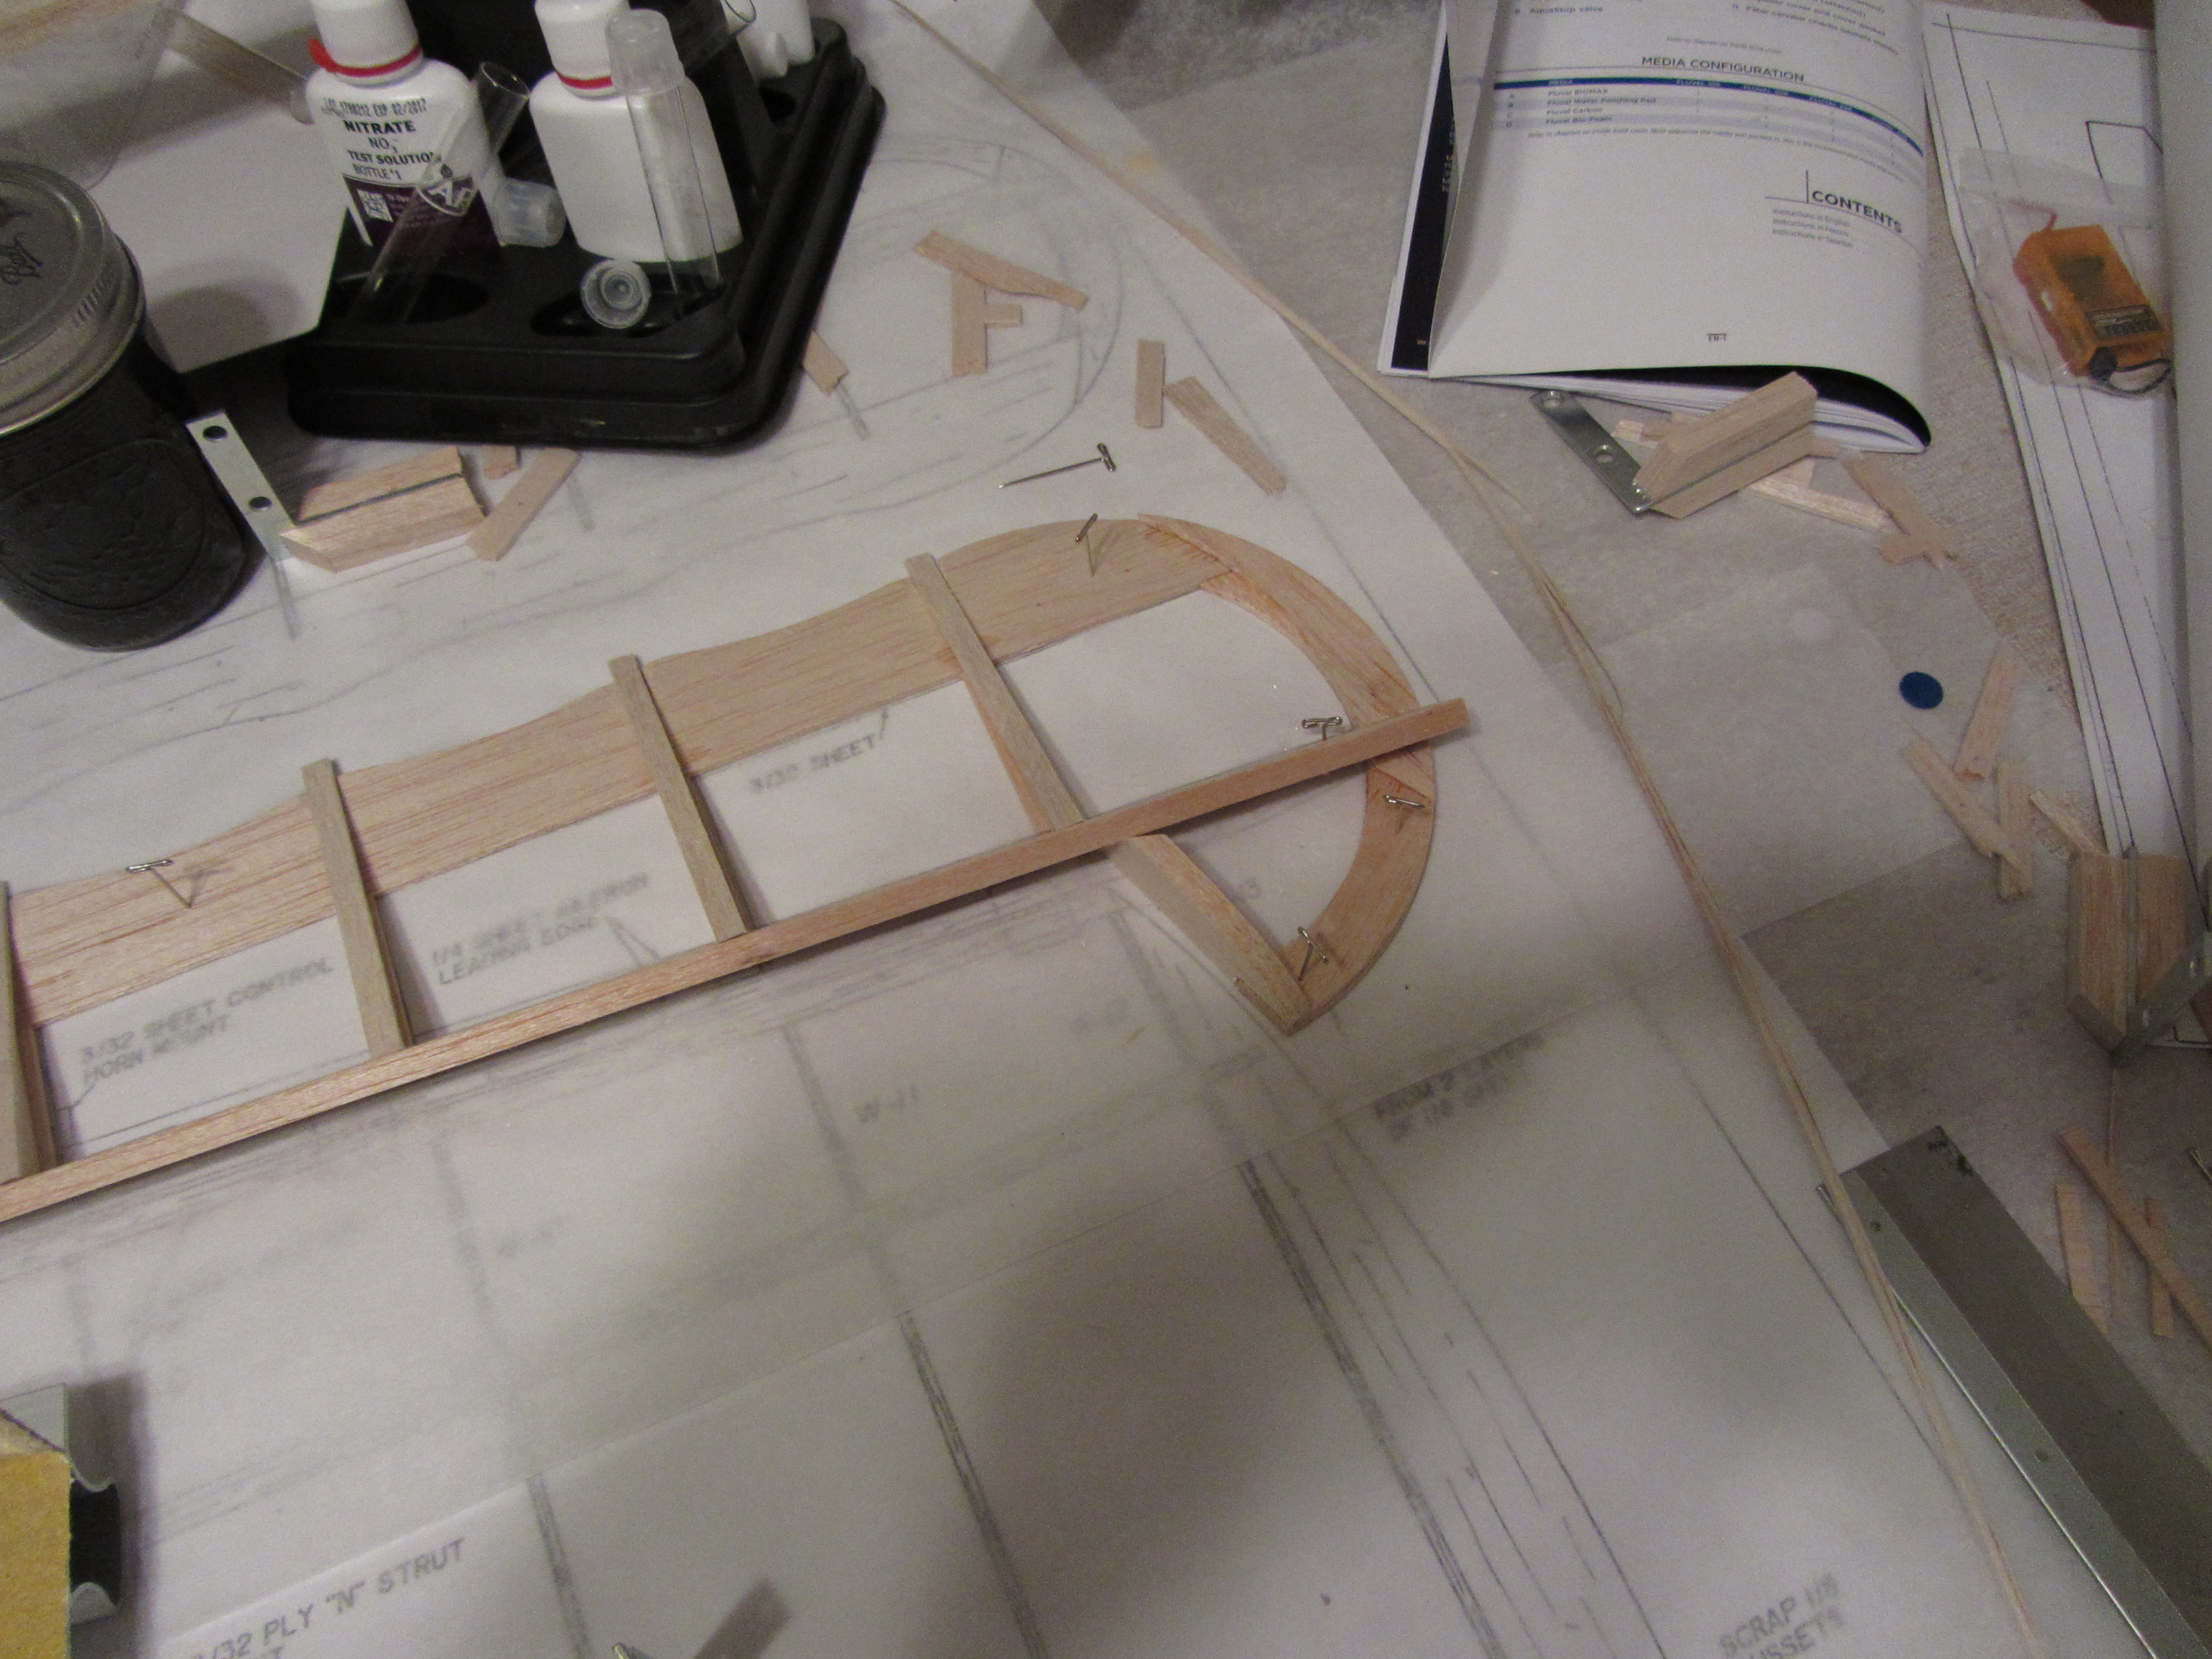
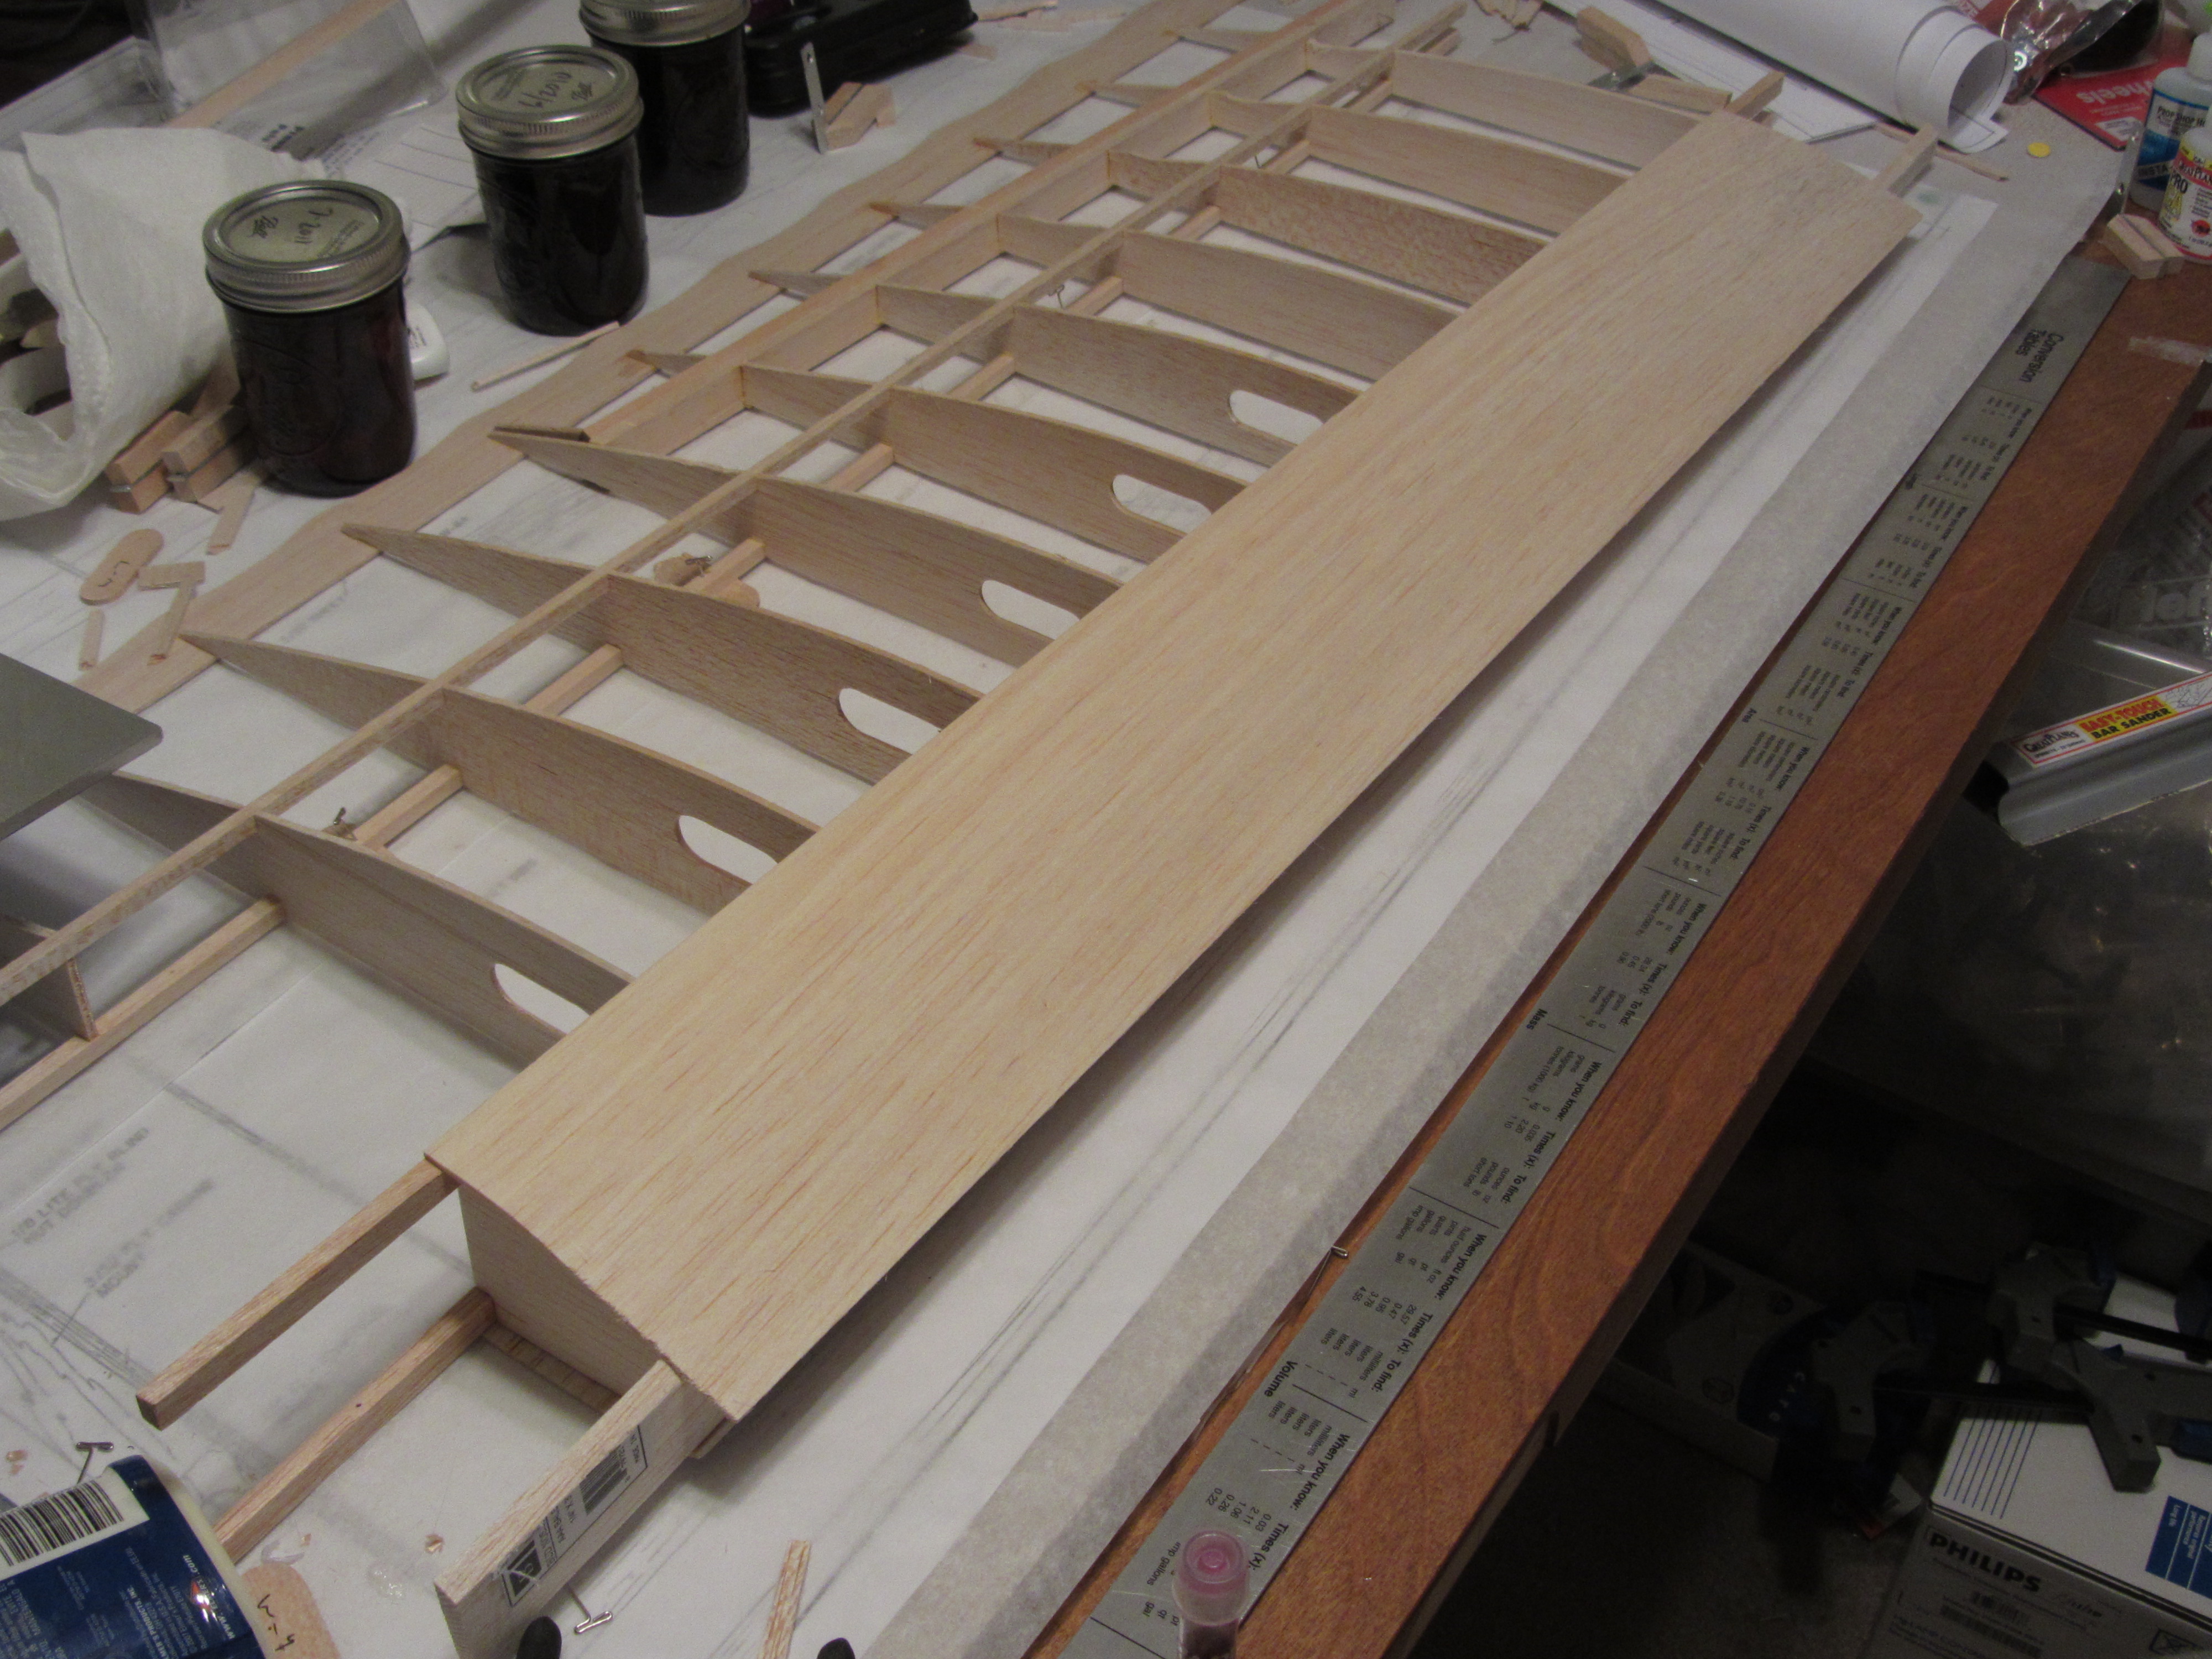
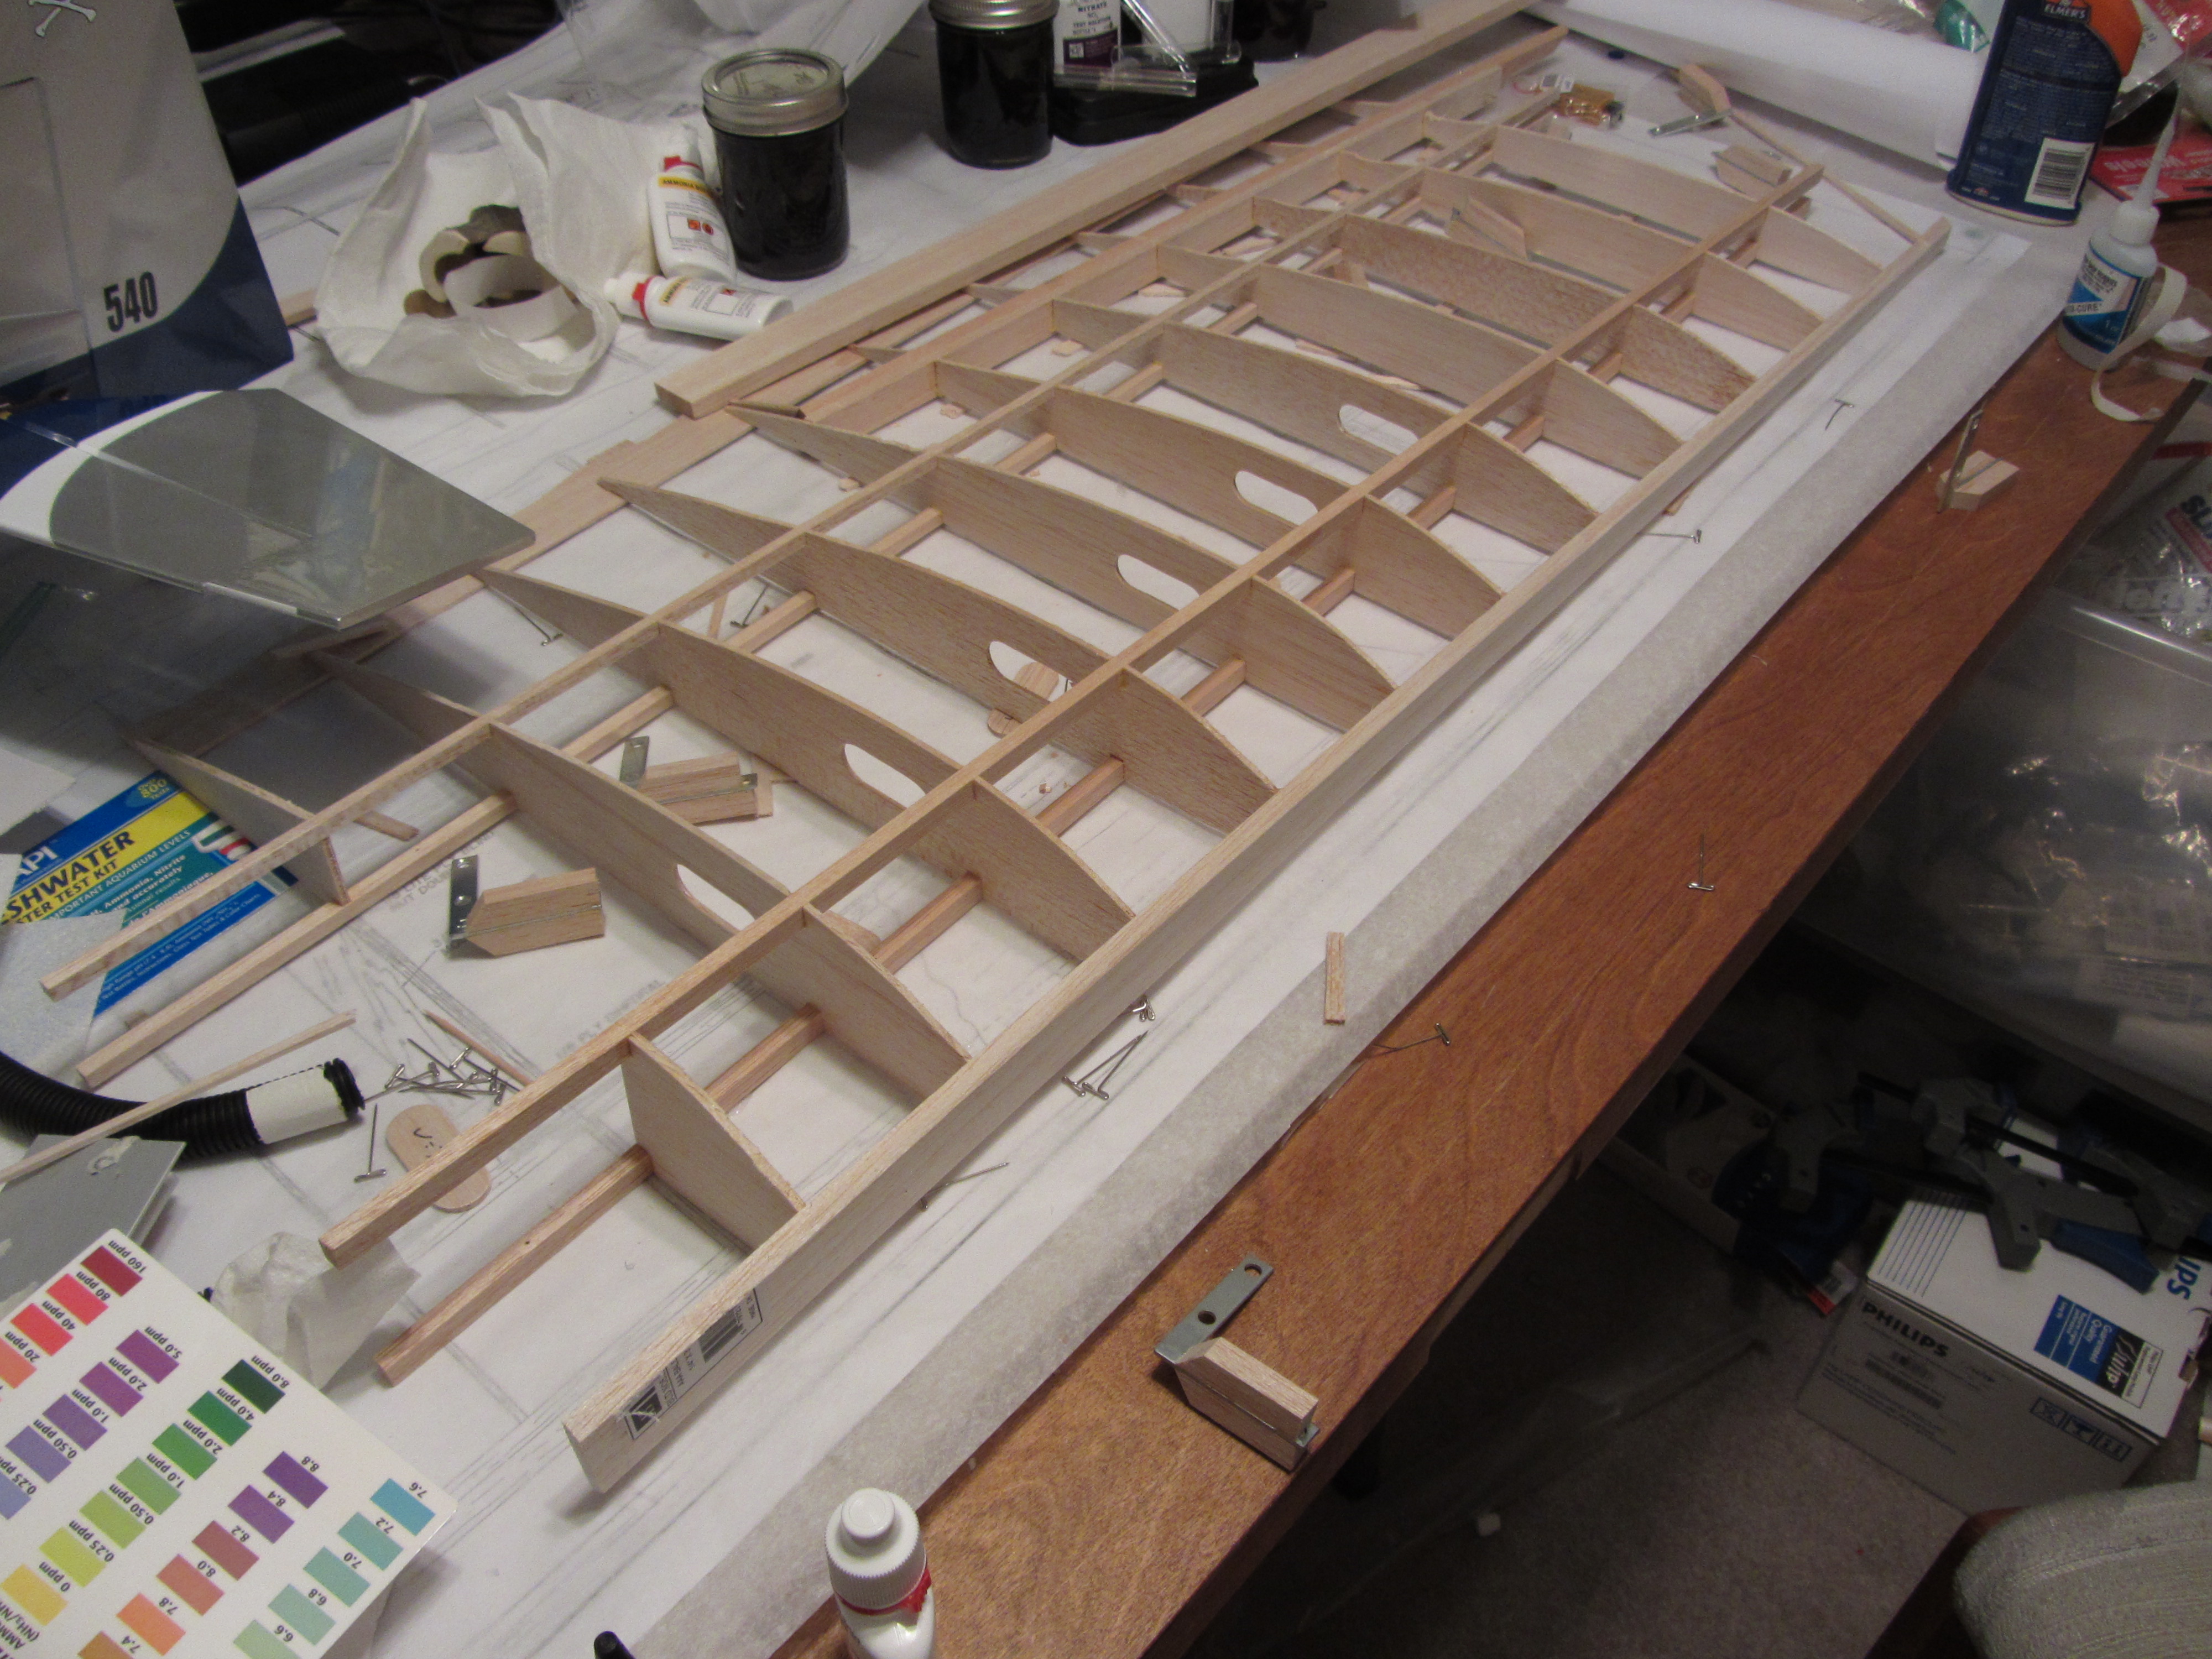
The end of the aileron front edge also gets shaped so that it blends down to the tip.

IMG_1847

Caps strips and aileron work

Several things finished up today.  First off did the cap strips on the top of the ribs.  Since the shear webs get sanded to match the top of the wing, they’re not a problem for this. Also, the top of the aileron spar seemed to be a bit short.  After some research, that seemed fairly common, so I added a cap strip to the top of it to make things work out properly.

IMG_1842

Next the aileron is cut from the wing.

IMG_1843

IMG_1844

The end of the aileron is made with a few pieces of laminated balsa, and took notching the end of the forward edge so that it would fit in place.  Then the last rib is put in place on the forward edge of the aileron.

IMG_1845

Cap strips and shear webbing

The bottom of most of the ribs are now cap stripped (except right near the root of the wing panel).

IMG_1840

After that, shear webbing is added to the front spars.

IMG_1841

Now, I screwed up here some.  I was supposed to install shear webs on the rear spars also before cap stripping the upper part of the ribs.  I missed that at this point, so the next few steps you’ll see that it’s missing.  I did figure it out eventually.

Leading edge

After a fair break on progress (I tend to end up with these large breaks in the middle of building things, it’s a flaw of mine), the next step was to add the leading edge to the wing.  Unfortunately, I couldn’t find the piece of wood that I was supposed to use to do this in the box, so I ended up having to run out to get a couple of pieces (hence the sticker on the end of the leading edge).  Also in this picture you can see the tail of an arf I build during that break (a 3D Hobby Shop 41″ Edge 540).

IMG_1837